
HTML References
HTML by AlphabetHTML by CategoryHTML Browser SupportHTML AttributesHTML Global AttributesHTML EventsHTML ColorsHTML CanvasHTML Audio/VideoHTML Character SetsHTML DoctypesHTML URL EncodeHTML Language CodesHTML Country CodesHTTP MessagesHTTP MethodsPX to EM ConverterKeyboard Shortcuts
HTML Tags
<!—>
<!DOCTYPE>
<a>
<abbr>
<acronym>
<address>
<applet>
<area>
<article>
<aside>
<audio>
<b>
<base>
<basefont>
<bdi>
<bdo>
<big>
<blockquote>
<body>
<br>
<button>
<canvas>
<caption>
<center>
<cite>
<code>
<col>
<colgroup>
<data>
<datalist>
<dd>
<del>
<details>
<dfn>
<dialog>
<dir>
<div>
<dl>
<dt>
<em>
<embed>
<fieldset>
<figcaption>
<figure>
<font>
<footer>
<form>
<frame>
<frameset>
<h1> — <h6>
<head>
<header>
<hr>
<html>
<i>
<iframe>
<img>
<input>
<ins>
<kbd>
<label>
<legend>
<li>
<link>
<main>
<map>
<mark>
<meta>
<meter>
<nav>
<noframes>
<noscript>
<object>
<ol>
<optgroup>
<option>
<output>
<p>
<param>
<picture>
<pre>
<progress>
<q>
<rp>
<rt>
<ruby>
<s>
<samp>
<script>
<section>
<select>
<small>
<source>
<span>
<strike>
<strong>
<style>
<sub>
<summary>
<sup>
<svg>
<table>
<tbody>
<td>
<template>
<textarea>
<tfoot>
<th>
<thead>
<time>
<title>
<tr>
<track>
<tt>
<u>
<ul>
<var>
<video>
<wbr>
Specific Attributes
The HTML <input> tag also supports the following additional attributes −
| Attribute | Value | Description |
|---|---|---|
| accept | content types | Specifies a comma-separated list of content types that the server accepts. |
| align | left right top middle bottom |
Deprecated − Defines the alignment of content |
| alt | text | This specifies text to be used in case the browser/user agent can’t render the input control. |
| autocomplete | onoff | Specifies for enabling or disabling of autocomplete in <input> element |
| autofocus | autofocus | pecifies that <input> element should automatically get focus when the page loads |
| checked | checked | If type = «radio» or type = «checkbox» it will already be selected when the page loads. |
| disabled | disabled | Disables the input control. The button won’t accept changes from the user. It also cannot receive focus and will be skipped when tabbing. |
| form | form_id | Specifies one or more forms |
| formaction | URL | Specifies the URL of the file that will process the input control when the form is submitted |
| formenctype |
application/x-www-form-urlencoded multipart/form-data text/plain |
Specifies how the form-data should be encoded when submitting it to the serve |
| formmethod | post get |
Defines the HTTP method for sending data to the action URL |
| formnovalidate | formnovalidate | Defines that form elements should not be validated when submitted |
| formtarget | _blank _self _parent _top |
Specifies the target where the response will be display that is received after submitting the form |
| height | pixels | Specifies the height |
| list | datalist_id | Specifies the <datalist> element that contains pre-defined options for an <input> element |
| max | autofocus | Specifies the maximum value. |
| maxlength | number | Defines the maximum number of characters allowed in a text field |
| min | number | Specifies the minimum value. |
| multiple | multiple | Specifies that a user can enter multiple values |
| name | text | Assigns a name to the input control. |
| pattern | regexp | Specifies a regular expression that an <input> element’s value is checked against |
| placeholder | text | Specifies a short hint that describes the expected value. |
| readonly | readonly | Sets the input control to read-only. It won’t allow the user to change the value. The control however, can receive focus and are included when tabbing through the form controls. |
| required | required | Specifies that an input field must be filled out before submitting the form |
| size | number | Specifies the width of the control. If type = «text» or type = «password» this refers to the width in characters. Otherwise it’s in pixels. |
| src | URL | Defines the URL of the image to display. Used only for type = «image». |
| step | number | Specifies the legal number intervals for an input field |
| type | button checkboxcolor date datetime datetime-local file hidden image month number password radio range reset search submit tel text time url week |
Specifies the type of control. |
| value | text | Specifies the intial value for the control.If type = «checkbox» or type = «radio» this attribute is required. |
| width | pixels | Specifies the width |
Атрибуты
| Атрибут | Значение | Описание |
|---|---|---|
| accept |
file_extension audio/* video/* image/*media_type |
Задает фильтр для типов файлов, которые пользователь может выбрать в диалоговом окне ввода файла (только для type=»file») |
| alt | text | Задает альтернативный текст для изображений (только для type=»image») |
| autocomplete | on off |
Указывает, должен ли элемент <input> иметь функцию автозаполнения |
| autofocus | autofocus | Указывает, что элемент <input> должен автоматически получать Фокус при загрузке страницы |
| checked | checked | Указывает, что элемент <input> должен быть предварительно выбран при загрузке страницы (для type=»checkbox» или type=»radio») |
| dirname | inputname.dir | Указывает, что текстовое направление будет отправлено |
| disabled | disabled | Указывает, что элемент <input> должен быть отключен |
| form | form_id | Указывает форму, к которой принадлежит элемент <input> |
| formaction | URL | Указывает URL файла, который будет обрабатывать входной элемент управления при отправке формы (для type=»submit» и type=»image») |
| formenctype | application/x-www-form-urlencoded multipart/form-data text/plain |
Указывает, как данные формы должны быть закодированы при отправке их на сервер (для type=»submit» и type=»image») |
| formmethod | getpost | Определяет метод HTTP для отправки данных на URL действия (для type=»submit» и type=»image») |
| formnovalidate | formnovalidate | Определяет, что элементы формы не должны проверяться при отправке |
| formtarget | _blank _self _parent _topframename |
Указывает, где будет отображаться ответ, полученный после отправки формы (для type=»submit» и type=»image») |
| height | pixels | Задает высоту элемента <input> (только для type=»image») |
| list | datalist_id | Относится к элементу <datalist>, содержащий предварительно определенные параметры для элемента <input> |
| max | number date |
Задает максимальное значение для элемента <input> |
| maxlength | number | Задает максимальное количество символов, разрешенных в элементе <input> |
| min | number date |
Задает минимальное значение для элемента <input> |
| minlength | number | Задает минимальное количество символов, требуемых в элементе <input> |
| multiple | multiple | Указывает, что пользователь может ввести более одного значения в элемент <input> |
| name | text | Задает имя элемента <input> |
| pattern | regexp | Указывает регулярное выражение, по которому проверяется значение элемента <input> |
| placeholder | text | Задает короткую подсказку, описывающую ожидаемое значение элемента <input> |
| readonly | readonly | Указывает, что поле ввода доступно только для чтения |
| required | required | Указывает, что перед отправкой формы необходимо заполнить поле ввода |
| size | number | Задает ширину элемента <input> в символах |
| src | URL | Указывает URL изображения, которое будет использоваться в качестве кнопки отправки (только для type=»image») |
| step | numberany | Задает интервал между юридическими числами в поле ввода |
| type | button checkbox color date datetime-local file hidden image month number password radio range reset search submit tel text time url week |
Указывает тип элемента <input> для отображения |
| value | text | Задает значение элемента <input> |
| width | pixels | Задает ширину элемента <input> (только для type=»image») |
HTML Теги
<!—Комментарий—><!DOCTYPE><a><abbr><acronym><address><applet><area><article><aside><audio><b><base><basefont><bdi><bdo><big><blockquote><body><br><button><canvas><caption><center><cite><code><col><colgroup><data><datalist><dd><del><details><dfn><dialog><dir><div><dl><dt><em><embed><fieldset><figcaption><figure><font><footer><form><frame><frameset><h1> — <h6><head><header><hr><html><i><iframe><img><input><ins><kbd><label><legend><li><link><main><map><mark><meta><meter><nav><noframes><noscript><object><ol><optgroup><option><output><p><param><picture><pre><progress><q><rp><rt><ruby><s><samp><script><section><select><small><source><span><strike><strong><style><sub><summary><sup><svg><table><tbody><td><template><textarea><tfoot><th><thead><time><title><tr><track><tt><u><ul><var><video>
HTML Tags
<!—><!DOCTYPE><a><abbr><acronym><address><applet><area><article><aside><audio><b><base><basefont><bdi><bdo><big><blockquote><body><br><button><canvas><caption><center><cite><code><col><colgroup><data><datalist><dd><del><details><dfn><dialog><dir><div><dl><dt><em><embed><fieldset><figcaption><figure><font><footer><form><frame><frameset><h1> — <h6><head><header><hr><html><i><iframe><img><input><ins><kbd><label><legend><li><link><main><map><mark><meta><meter><nav><noframes><noscript><object><ol><optgroup><option><output><p><param><picture><pre><progress><q><rp><rt><ruby><s><samp><script><section><select><small><source><span><strike><strong><style><sub><summary><sup><svg><table><tbody><td><template><textarea><tfoot><th><thead><time><title><tr><track><tt><u><ul><var><video>
Attributes
| Attribute | Value | Description |
|---|---|---|
| accept |
file_extension audio/* video/* image/*media_type |
Specifies a filter for what file types the user can pick from the file input dialog box (only for type=»file») |
| alt | text | Specifies an alternate text for images (only for type=»image») |
| autocomplete | on off |
Specifies whether an <input> element should have autocomplete enabled |
| autofocus | autofocus | Specifies that an <input> element should automatically get focus when the page loads |
| checked | checked | Specifies that an <input> element should be pre-selected when the page loads (for type=»checkbox» or type=»radio») |
| dirname | inputname.dir | Specifies that the text direction will be submitted |
| disabled | disabled | Specifies that an <input> element should be disabled |
| form | form_id | Specifies the form the <input> element belongs to |
| formaction | URL | Specifies the URL of the file that will process the input control when the form is submitted (for type=»submit» and type=»image») |
| formenctype | application/x-www-form-urlencoded multipart/form-data text/plain |
Specifies how the form-data should be encoded when submitting it to the server (for type=»submit» and type=»image») |
| formmethod | getpost | Defines the HTTP method for sending data to the action URL (for type=»submit» and type=»image») |
| formnovalidate | formnovalidate | Defines that form elements should not be validated when submitted |
| formtarget | _blank _self _parent _topframename |
Specifies where to display the response that is received after submitting the form (for type=»submit» and type=»image») |
| height | pixels | Specifies the height of an <input> element (only for type=»image») |
| list | datalist_id | Refers to a <datalist> element that contains pre-defined options for an <input> element |
| max | number date |
Specifies the maximum value for an <input> element |
| maxlength | number | Specifies the maximum number of characters allowed in an <input> element |
| min | number date |
Specifies a minimum value for an <input> element |
| minlength | number | Specifies the minimum number of characters required in an <input> element |
| multiple | multiple | Specifies that a user can enter more than one value in an <input> element |
| name | text | Specifies the name of an <input> element |
| pattern | regexp | Specifies a regular expression that an <input> element’s value is checked against |
| placeholder | text | Specifies a short hint that describes the expected value of an <input> element |
| readonly | readonly | Specifies that an input field is read-only |
| required | required | Specifies that an input field must be filled out before submitting the form |
| size | number | Specifies the width, in characters, of an <input> element |
| src | URL | Specifies the URL of the image to use as a submit button (only for type=»image») |
| step | numberany | Specifies the interval between legal numbers in an input field |
| type | button checkbox color date datetime-local file hidden image month number password radio range reset search submit tel text time url week |
Specifies the type <input> element to display |
| value | text | Specifies the value of an <input> element |
| width | pixels | Specifies the width of an <input> element (only for type=»image») |
Создаём обработчика формы
Мы перешли к самому интересному моменту статьи. Если мы обрабатываем форму на другой странице (action=»example.php»), то после нажатия кнопки подтверждения вас перекинет на указанную страницу.
Если action пуст, то страница с формой перезагрузится.
В самом верху скелета документа (перед <!DOCTYPE html>) открываем теги PHP и обрабатываем форму:
<?

// Если кнопка нажата, то выполняет тело условия
if (isset($_POST)) {
echo 'кнопка обработчика была нажата!<br>';

// Если логин и пароль не пуст(есть значение), а также пароль не 123
if (!empty($_POST) && $_POST != 123 && !empty($_POST)) {
echo "Всё хорошо, все поля пройдены. ";
echo "Здесь должна быть ваша обработка формы. ";
echo "Занесение в базу данных, отправка сообщения и т.п.";
}

// Если логин пуст, тогда выводит сообщение
if ($_POST == '') {
echo 'Логин пуст!<br>';
}

// Если пароль популярный ||(или) пуст, тогда выводит сообщение
if ($_POST == '123' || empty($_POST)) {
echo "Нельзя использовать популярные пароли. Придумайте свой!<br>";
}
}

?>
Теперь если форма не прошла проверку, то все данные стираются, и нужно их вводить заново.
Давайте доработаем форму, чтобы исправить это, а также изменим место вывода ошибок.
В самом верху PHP-тега заводим 2 новые переменные, которые по стандарту пусты:
$error_login = "";
$error_pas = "";
В проверке на пароль:
$error_pas .= "Нельзя использовать популярные пароли. Придумайте свой!<br>";
В проверке на логин:
$error_login .= 'Логин пуст!<br>';
.= означает то, что мы берём прошлую строку (пусто) и прибавляем к этому наше сообщение.
В форме HTML:
Добавляем после тега <input> вставку PHP (в данном случае <?= ?>), так как мы только выводим переменную. Суть проста: если ошибки в логине нет, тогда $error_login пуст, а следственно, ничего не выводится, иначе выводим там ошибку.
<p>Введите логин: <input type="text" name="login"><?=$error_login?></p>
<p>Введите пароль: <input type="password" name="pass"><?=$error_pas?></p>
Теперь доработаем форму, чтобы она сохраняла значения полей.
В самом начале добавляем 2 переменные:
$input_login ="";
$input_pass = "";
В начало проверки на ‘нажата ли кнопка отправки’ добавляем:
$input_login = $_POST;
$input_pass = $_POST;
То есть мы заносим в переменные значения из суперглобального массива $_POST.
И немного изменяем нашу HTML-форму:
<form action="" method="post">
<p>Введите логин: <input type="text" name="login" value="<?=$input_login?>"><?=$error_login?></p>
<p>Введите пароль: <input type="password" name="pass" value="<?=$input_pass?>"><?=$error_pas?></p>
<p><input type="submit" value="Отправить" name="done"></p>
</form>
Добавляем тег value, чтобы указать стандартное значение поля. Теперь если выдаётся ошибка, то значения полей сохраняются, и пользователю нужно не заново их вводить, а только исправить ошибку.
HTML Справочник
HTML по алфавитуHTML по категориямHTML Поддержка браузераHTML АтрибутыHTML Глобальные атрибутыHTML СобытияHTML ЦветаHTML CanvasHTML Аудио/видеоHTML Наборы символовHTML Типы документовHTML URL КодировкаHTML Коды языкаHTML Коды странHTTP СообщенияHTTP МетодыКонвертер PX в EMКомбинации клавиш
HTML Теги
<!—Комментарий—>
<!DOCTYPE>
<a>
<abbr>
<acronym>
<address>
<applet>
<area>
<article>
<aside>
<audio>
<b>
<base>
<basefont>
<bdi>
<bdo>
<big>
<blockquote>
<body>
<br>
<button>
<canvas>
<caption>
<center>
<cite>
<code>
<col>
<colgroup>
<data>
<datalist>
<dd>
<del>
<details>
<dfn>
<dialog>
<dir>
<div>
<dl>
<dt>
<em>
<embed>
<fieldset>
<figcaption>
<figure>
<font>
<footer>
<form>
<frame>
<frameset>
<h1> — <h6>
<head>
<header>
<hr>
<html>
<i>
<iframe>
<img>
<input>
<ins>
<kbd>
<label>
<legend>
<li>
<link>
<main>
<map>
<mark>
<meta>
<meter>
<nav>
<noframes>
<noscript>
<object>
<ol>
<optgroup>
<option>
<output>
<p>
<param>
<picture>
<pre>
<progress>
<q>
<rp>
<rt>
<ruby>
<s>
<samp>
<script>
<section>
<select>
<small>
<source>
<span>
<strike>
<strong>
<style>
<sub>
<summary>
<sup>
<svg>
<table>
<tbody>
<td>
<template>
<textarea>
<tfoot>
<th>
<thead>
<time>
<title>
<tr>
<track>
<tt>
<u>
<ul>
<var>
<video>
<wbr>
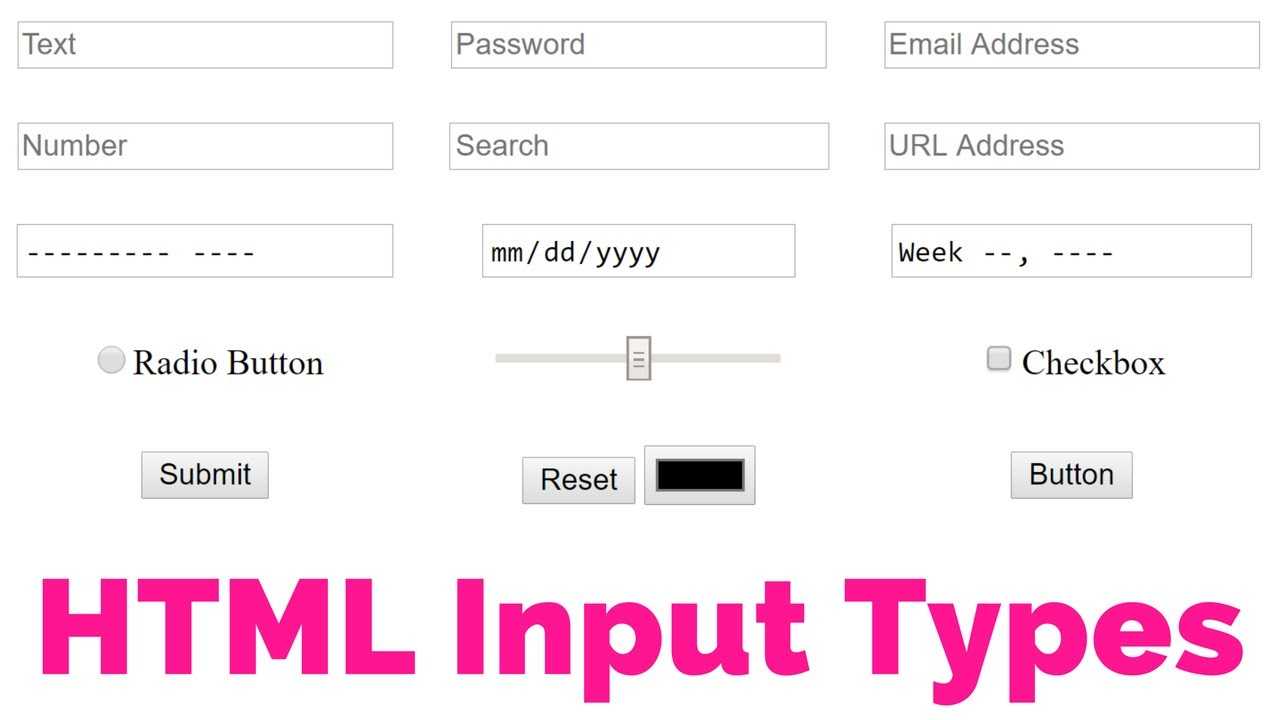
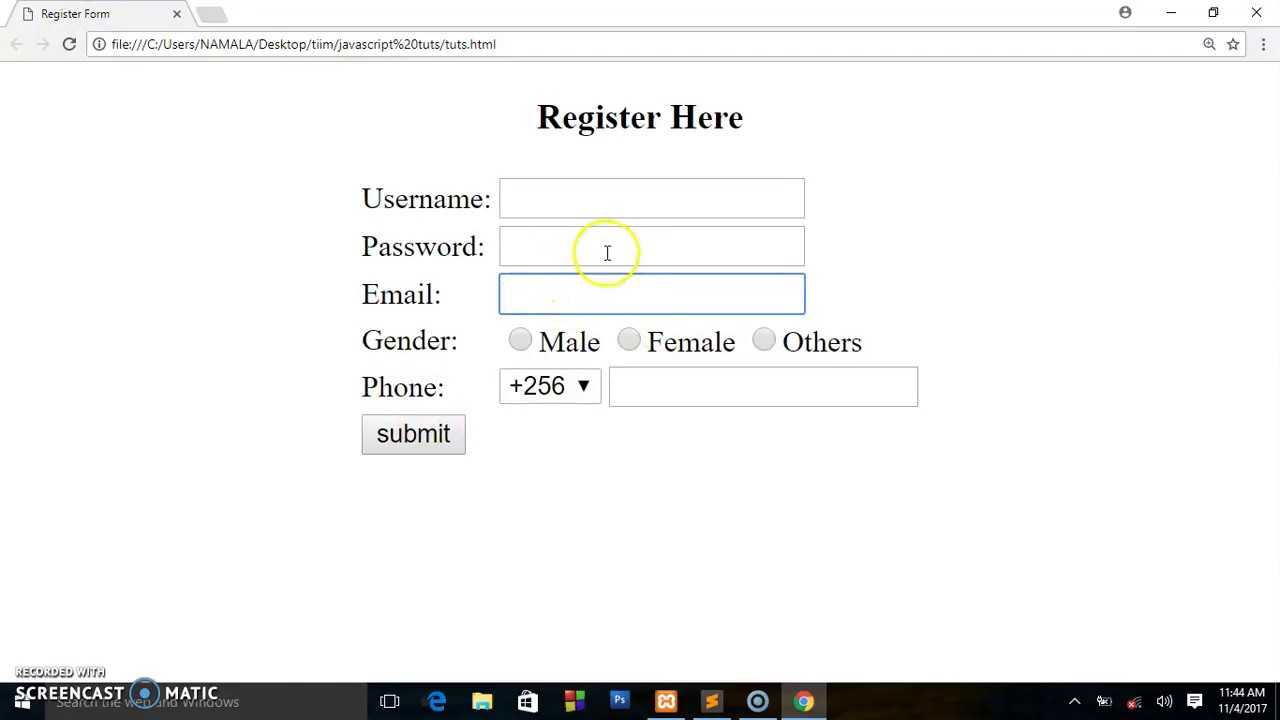
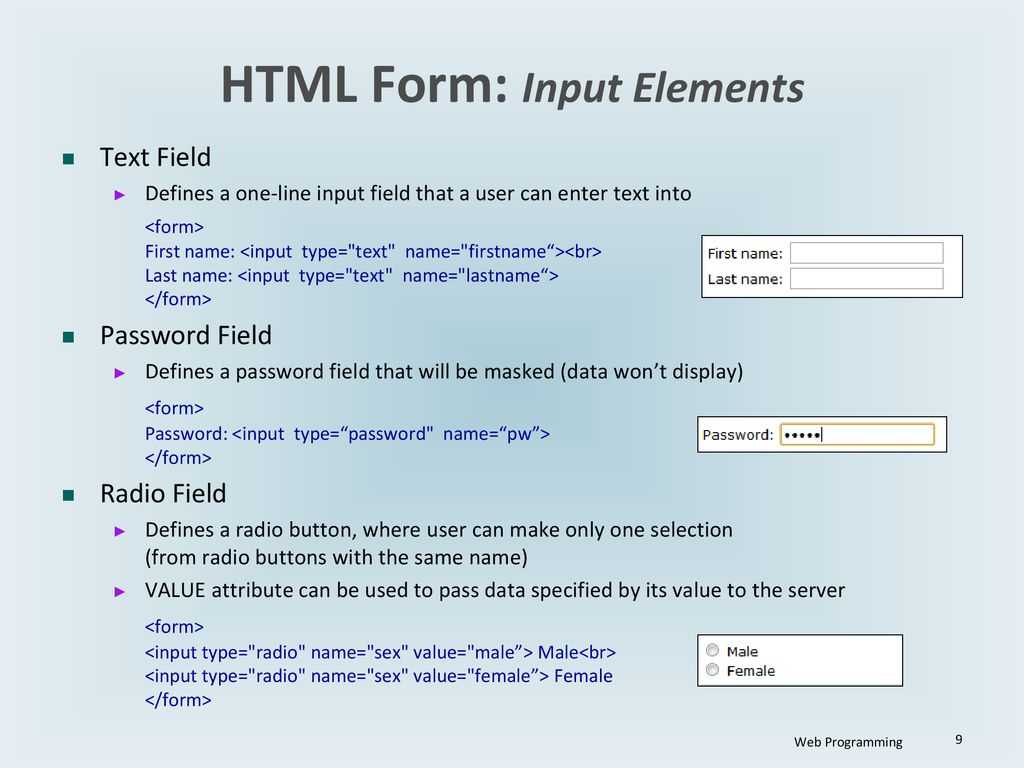
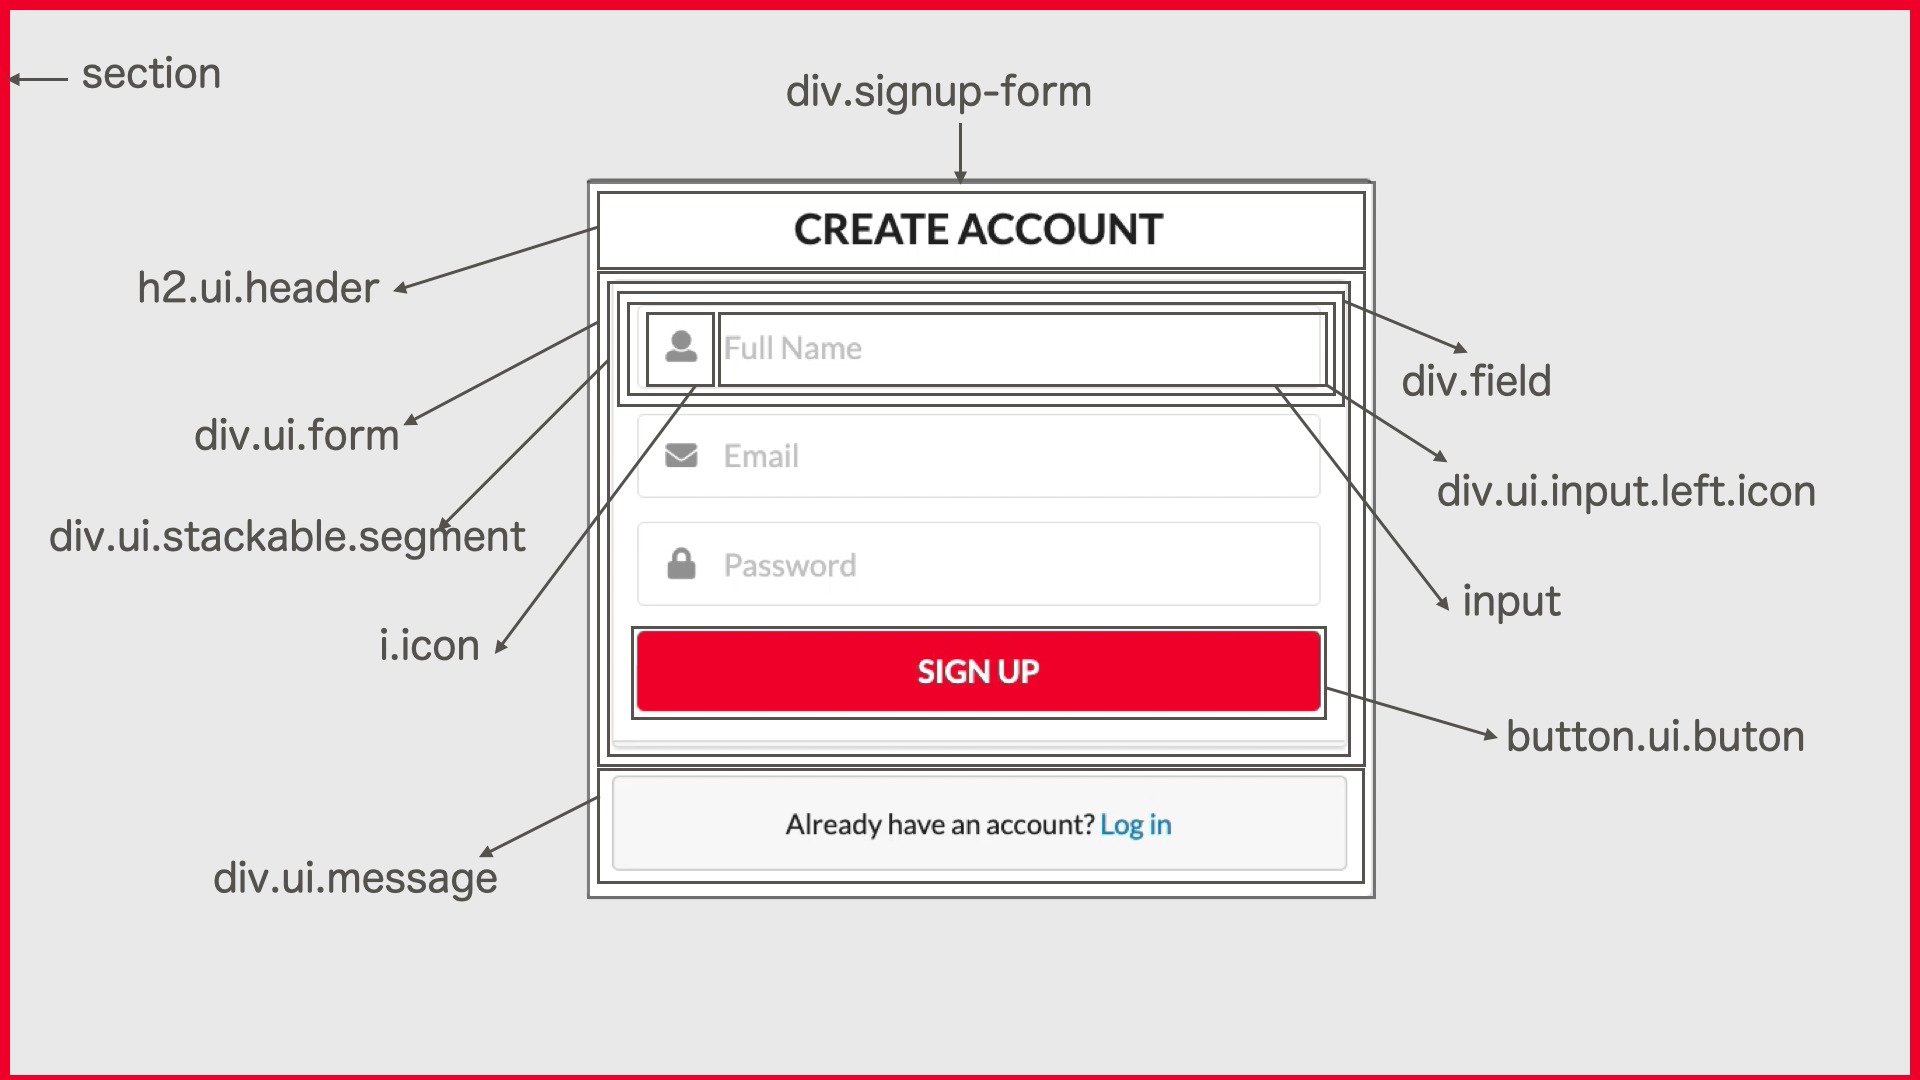
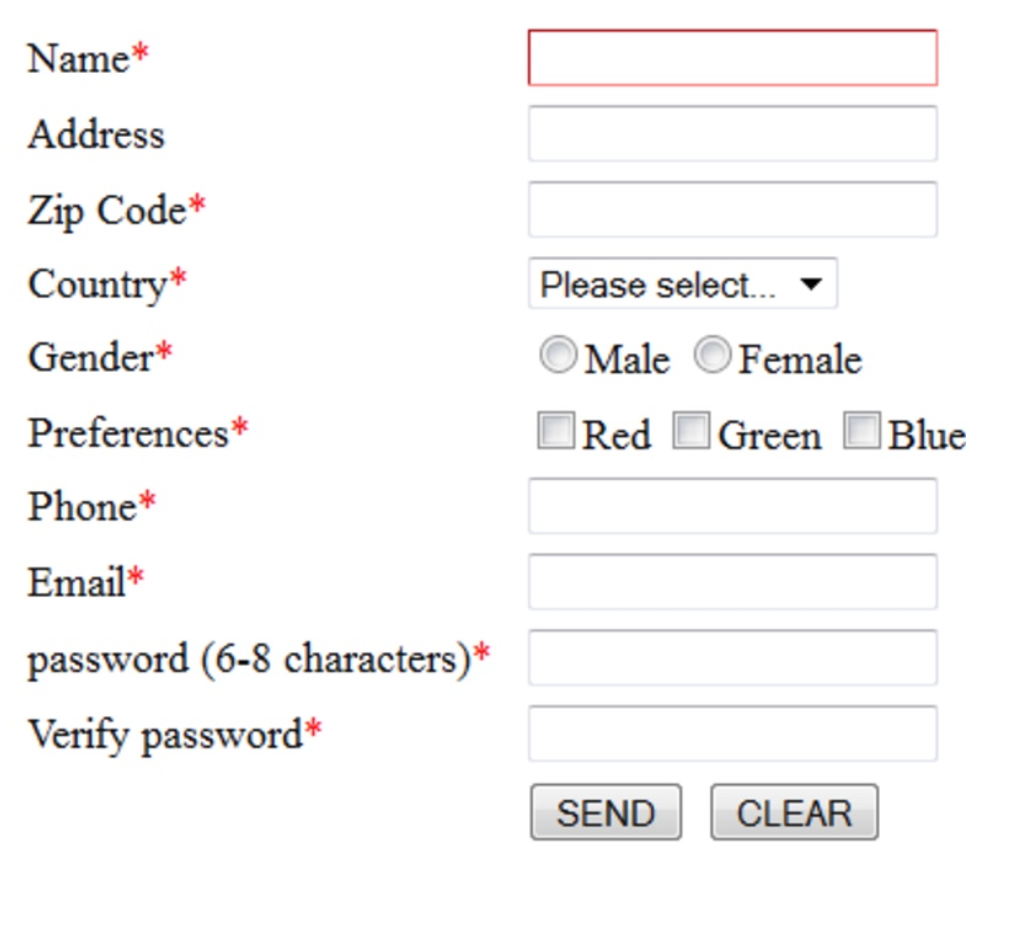
HTML Form Input Types
You use the tag to create various form controls in HTML. It is an inline element and takes attributes such as , , , , , and so on. Each of these has specific values they take.


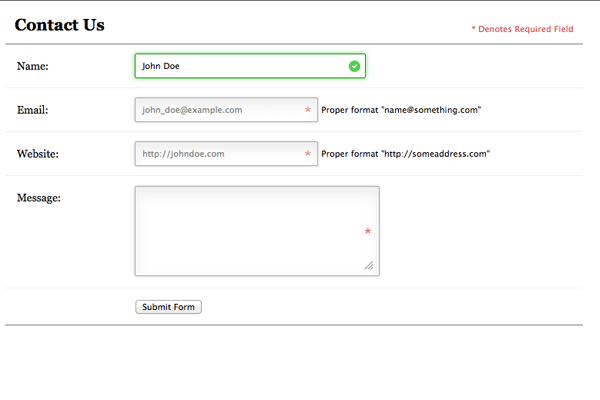
The attribute is important as it helps the user understand the purpose of the input field before they type anything in.
There are 20 different input types, and we will look at them one by one.
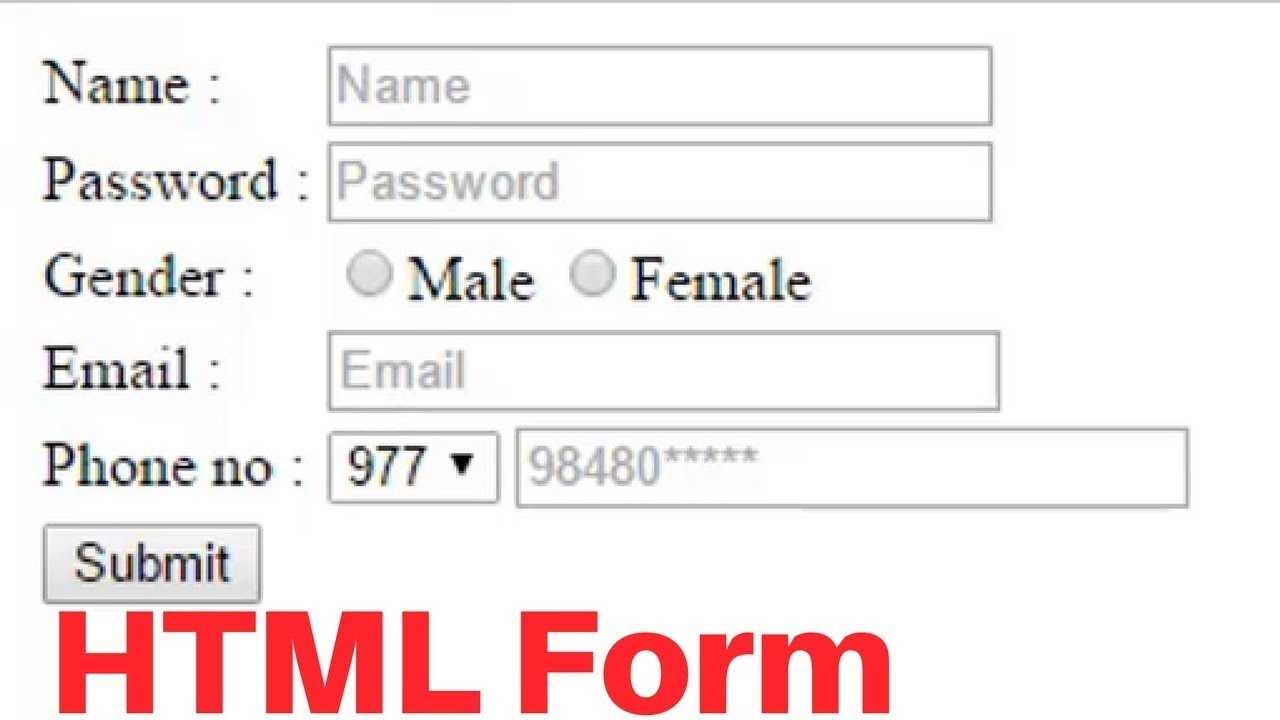
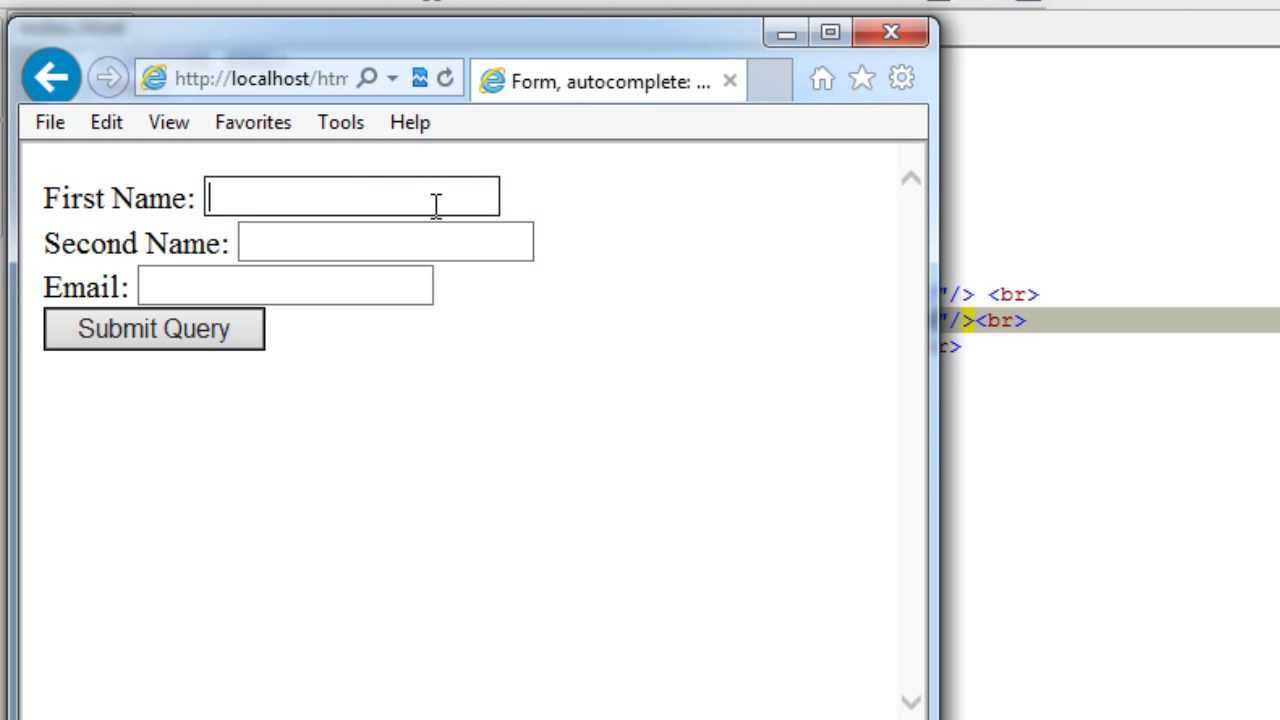
Type Text
This type of input takes a value of “text”, so it creates a single line of text input.
An input with the type of text looks like the screenshot below: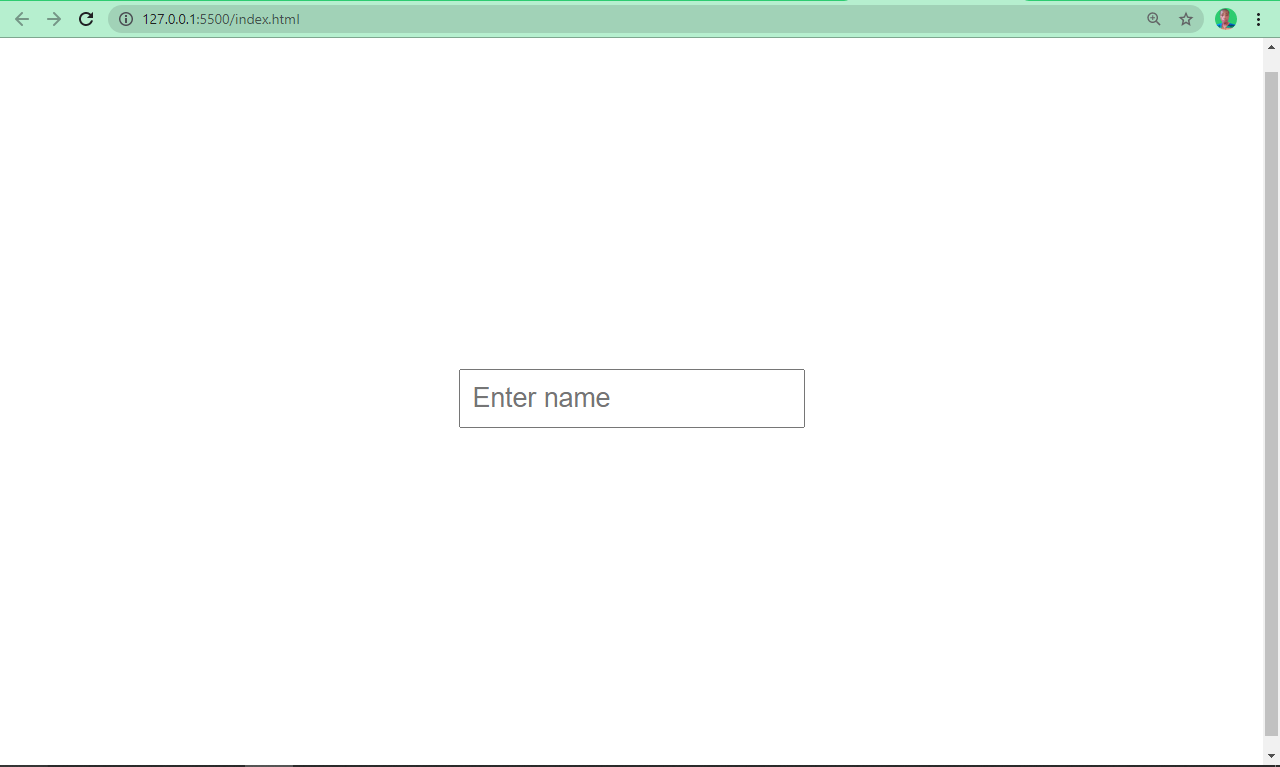
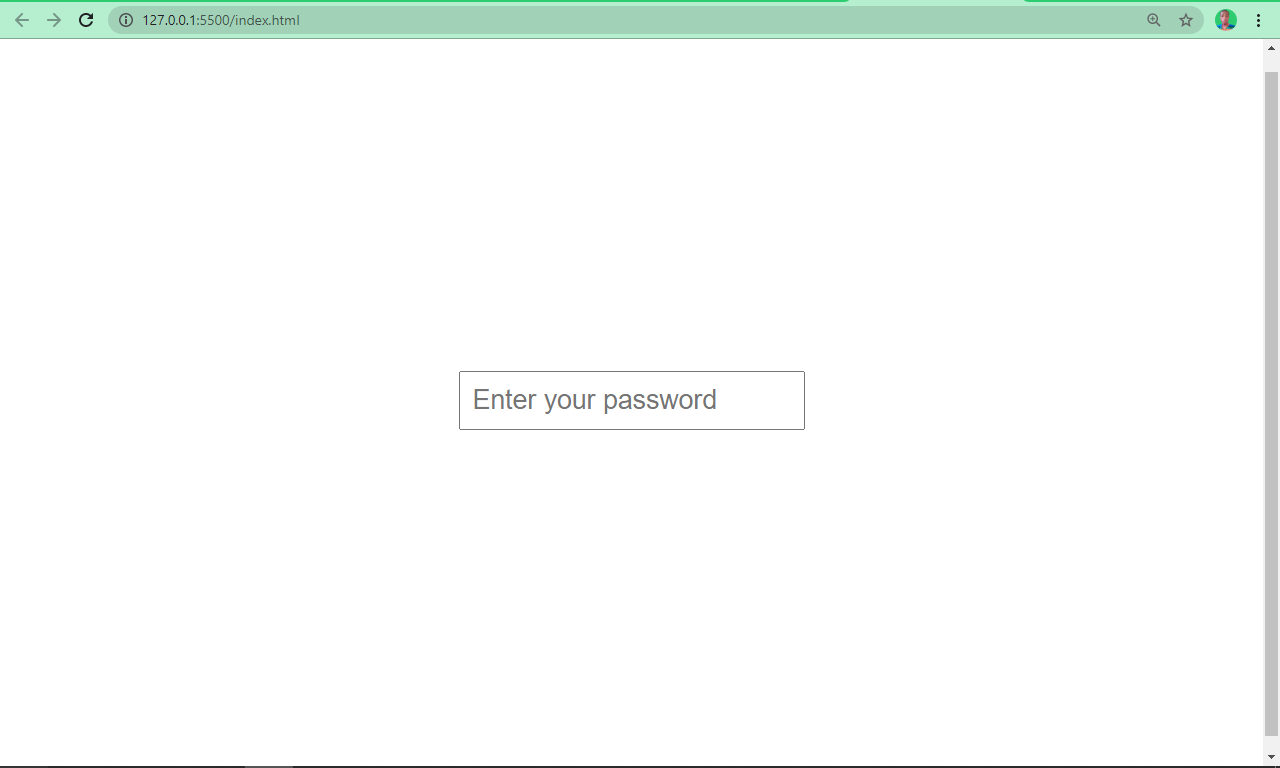
Type Password
As the name implies, an input with a type of password creates a password. It is automatically invisible to the user, unless it is manipulated by JavaScript.
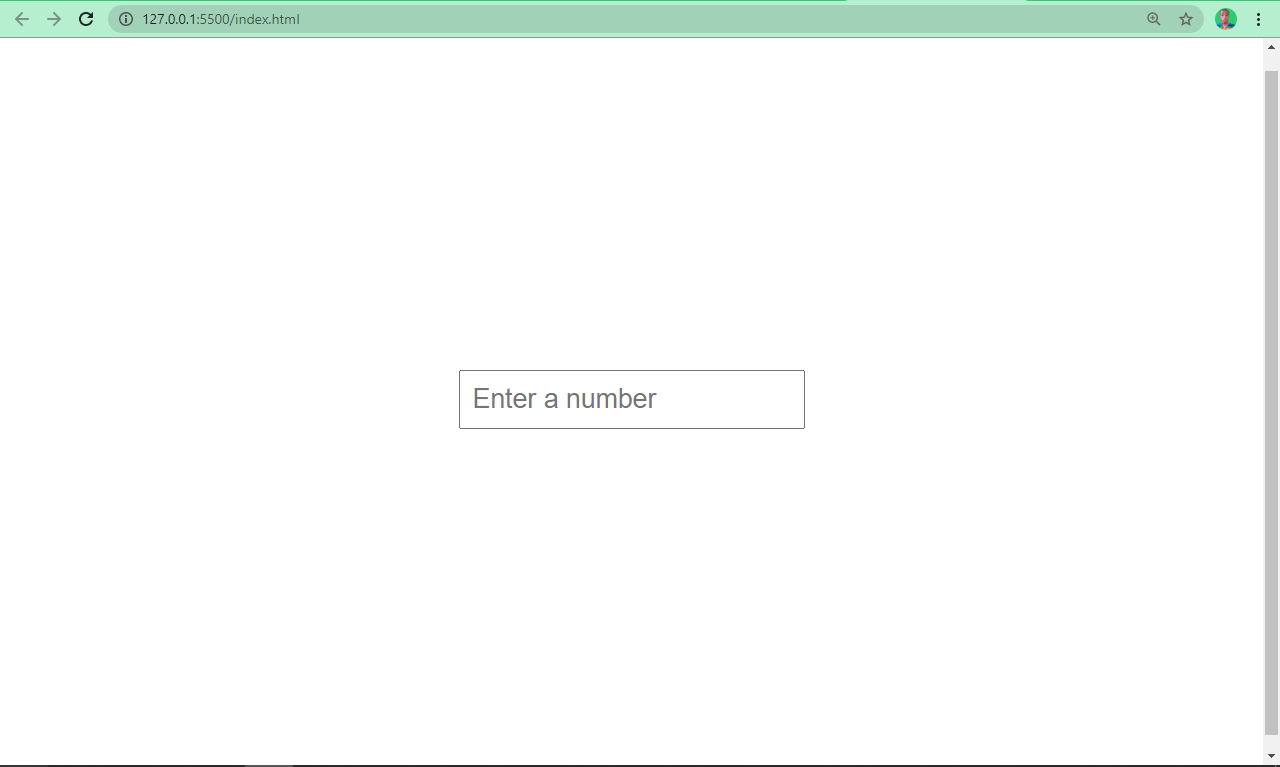
This type of input lets the user insert numbers only.
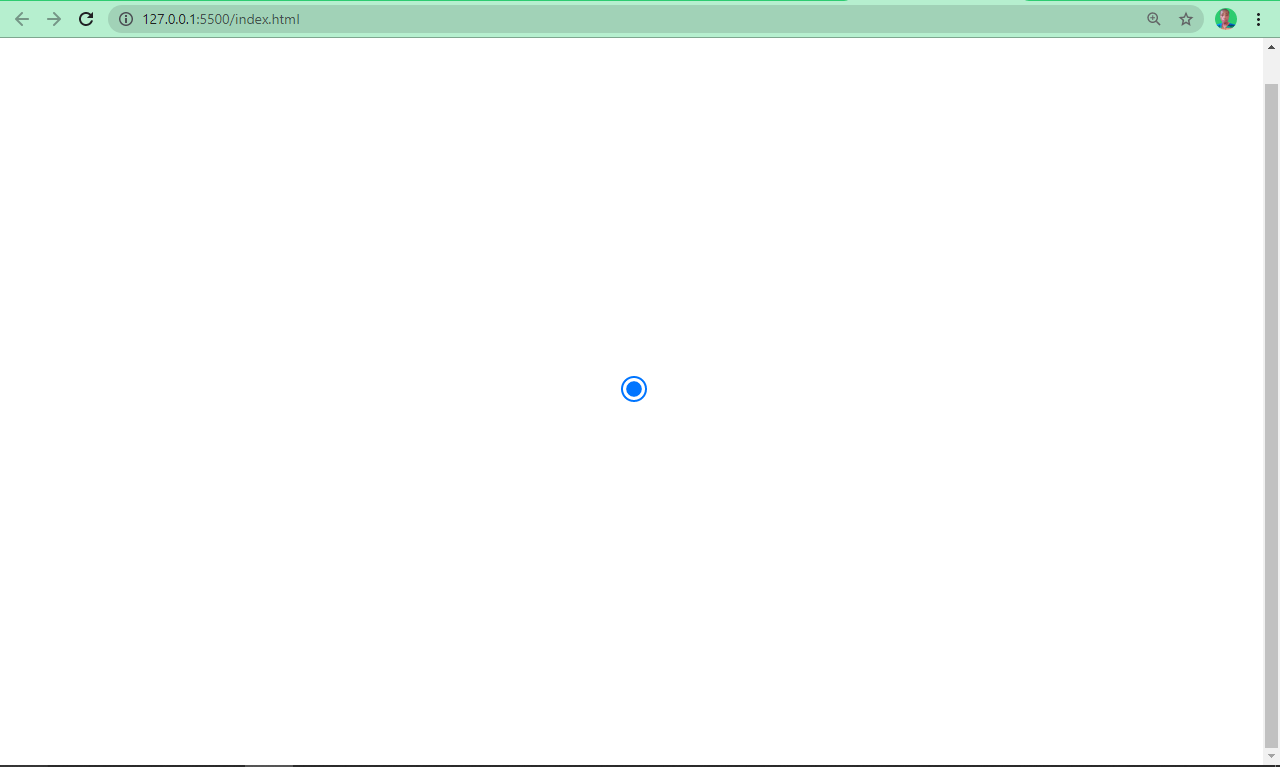
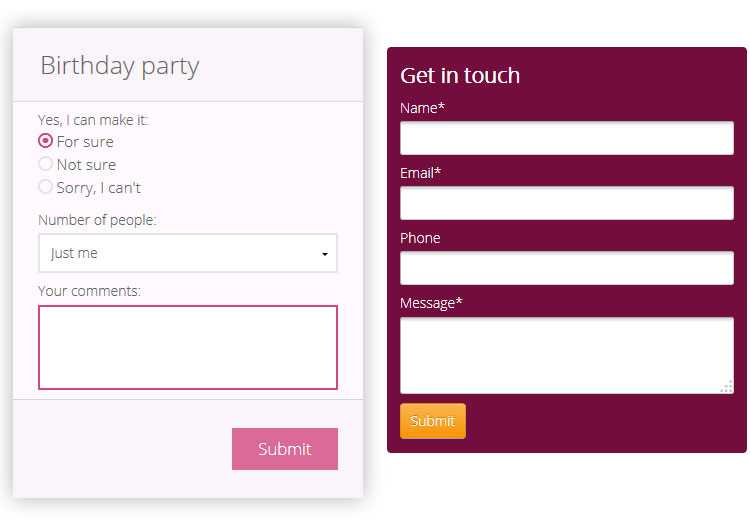
Type Radio
Sometimes, users will need to pick one out of numerous options. An input field with its type attributes set to “radio” lets you do this.
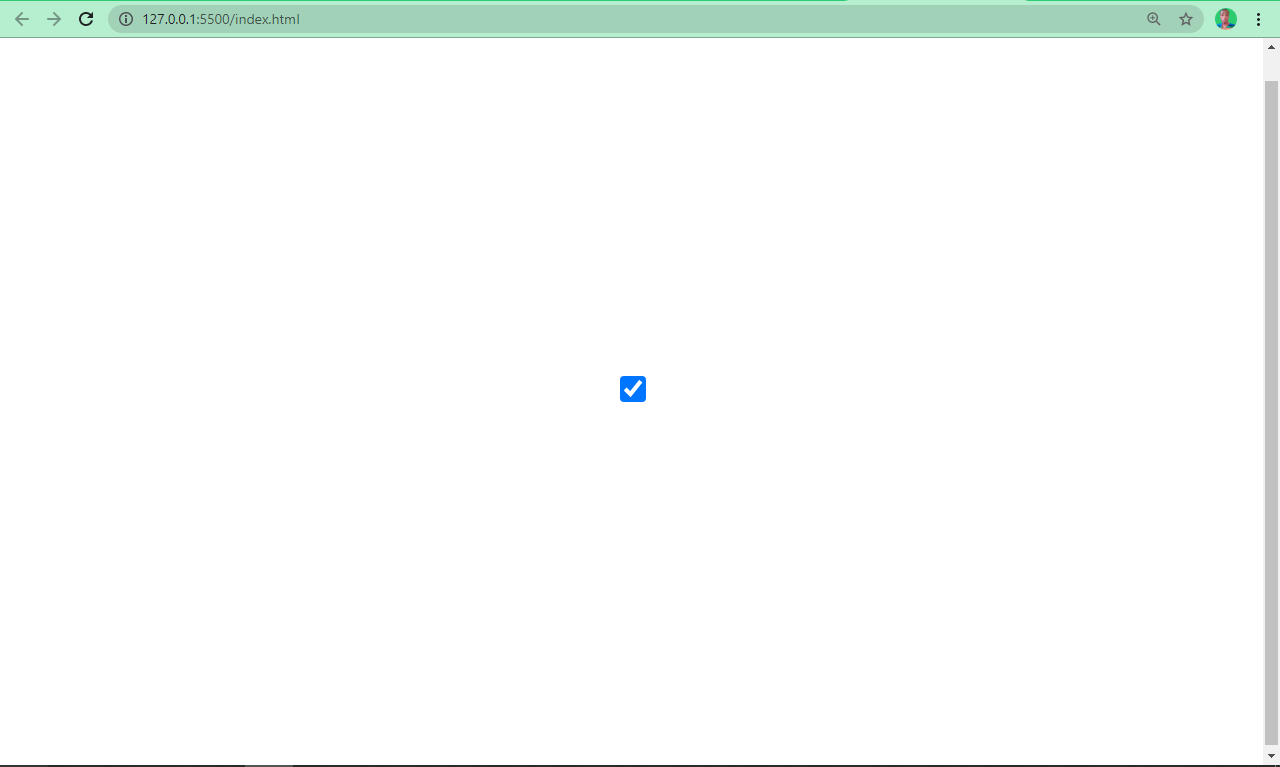
Type Checkbox
So, with an input type of radio, users will be allowed to pick one out of numerous options. What if you want them to pick as many options as possible? That’s what an input with a type attribute set to does.
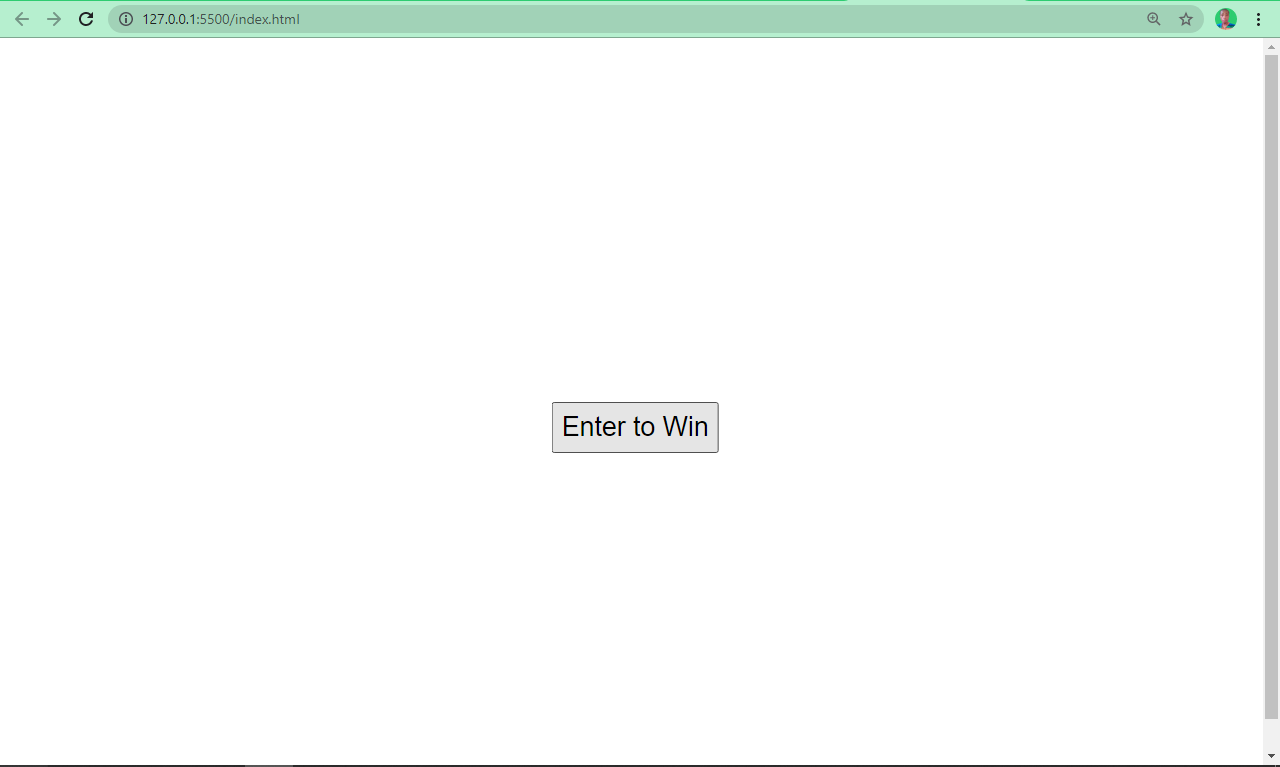
Type Submit
You use this type to add a submit button to forms. When a user clicks it, it automatically submits the form. It takes a value attribute, which defines the text that appears inside the button.
Type Button
An input with a type set to button creates a button, which can be manipulated by JavaScript’s onClick event listener type. It creates a button just like an input type of submit, but with the exception that the value is empty by default, so it has to be specified.

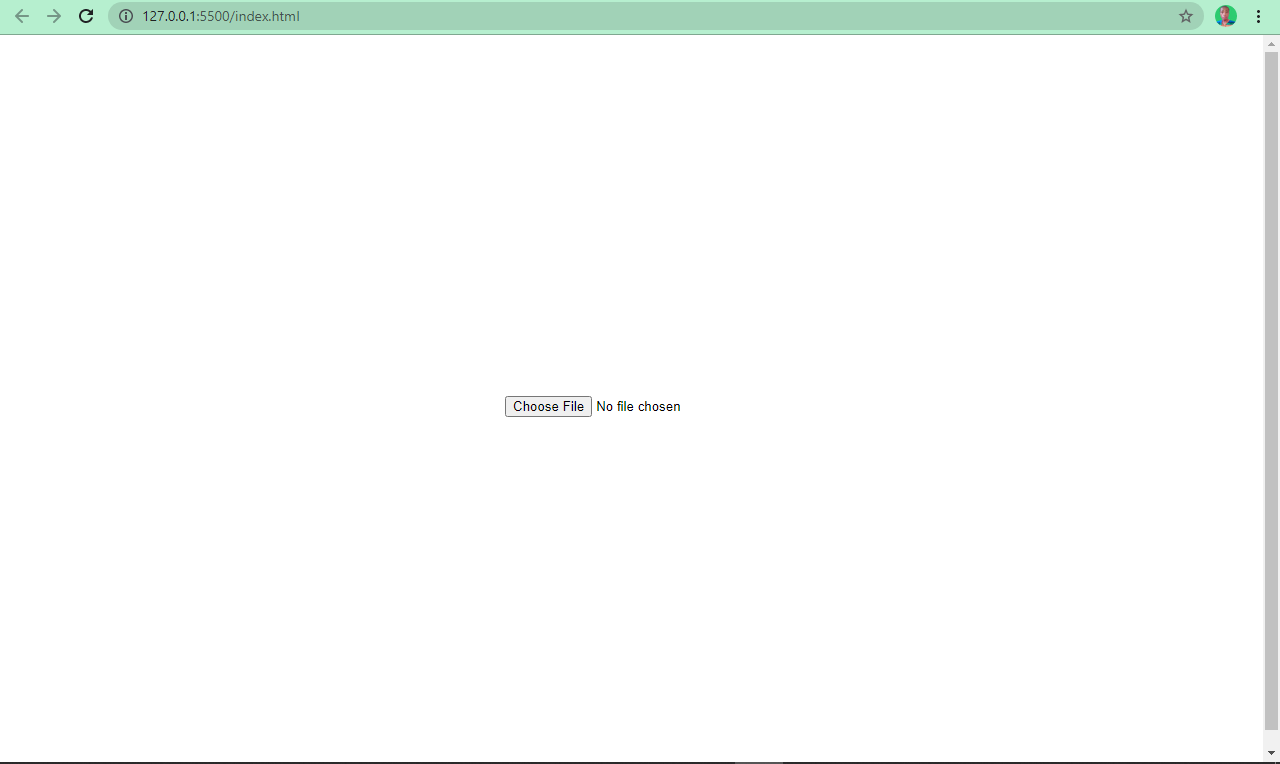
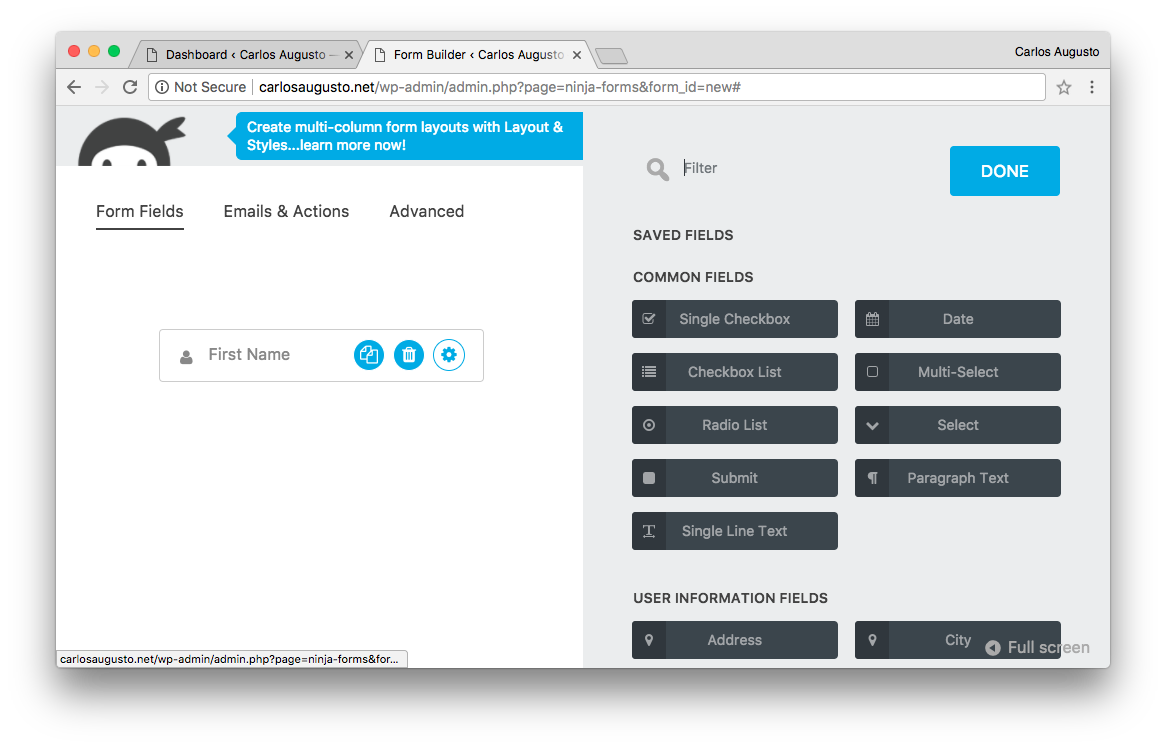
Type File
This defines a field for file submission. When a user clicks it, they are prompted to insert the desired file type, which might be an image, PDF, document file, and so on.
The result of an input type of file looks like this:
Type Color
This is a fancy input type introduced by HTML5. With it, the user can submit their favourite color for example. Black (#000000) is the default value, but can be overridden by setting the value to a desired color.
Many developers have used it as a trick to get to select different color shades available in RGB, HSL and alphanumeric formats.
This is the result of an input type of color:

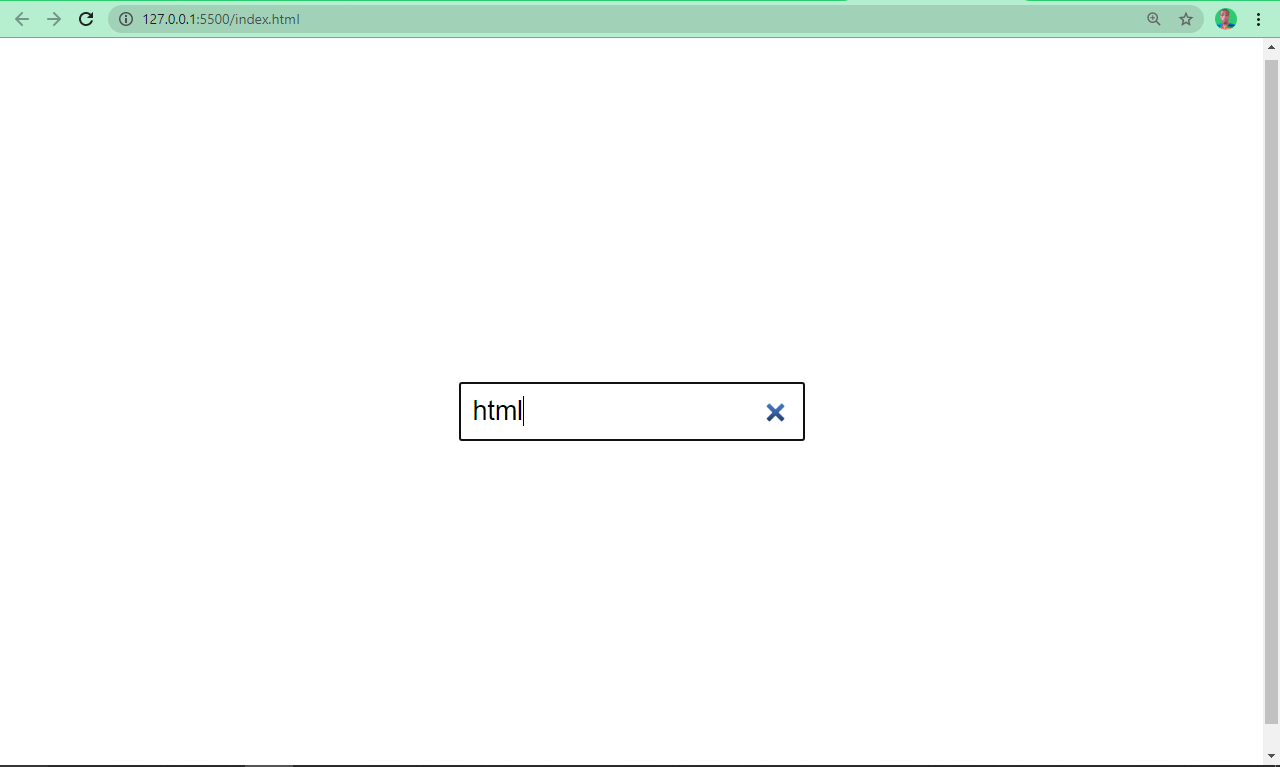
Type Search
Input with the type of search defines a text field just like an input type of text. But this time it has the sole purpose of searching for info. It is different from type text in that, a cancel button appears once the user starts typing.

When the type attribute of an input tag is set to URL, it displays a field where users can enter a URL.
An input type of tel lets you collect telephone numbers from users.
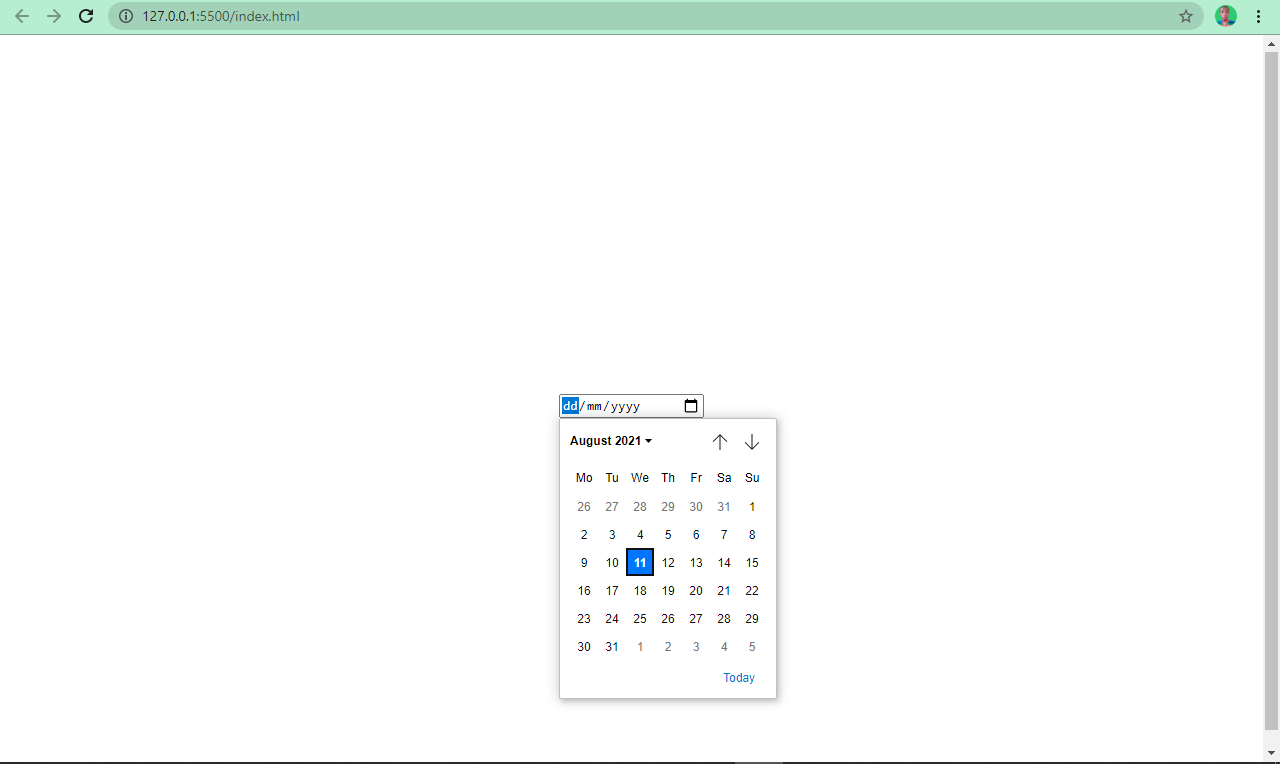
Type Date
You might have registered on a website where you requested the date of a certain event. The site probably used an input with the type value set to date to acheive this.
This is what an input with type date looks like:
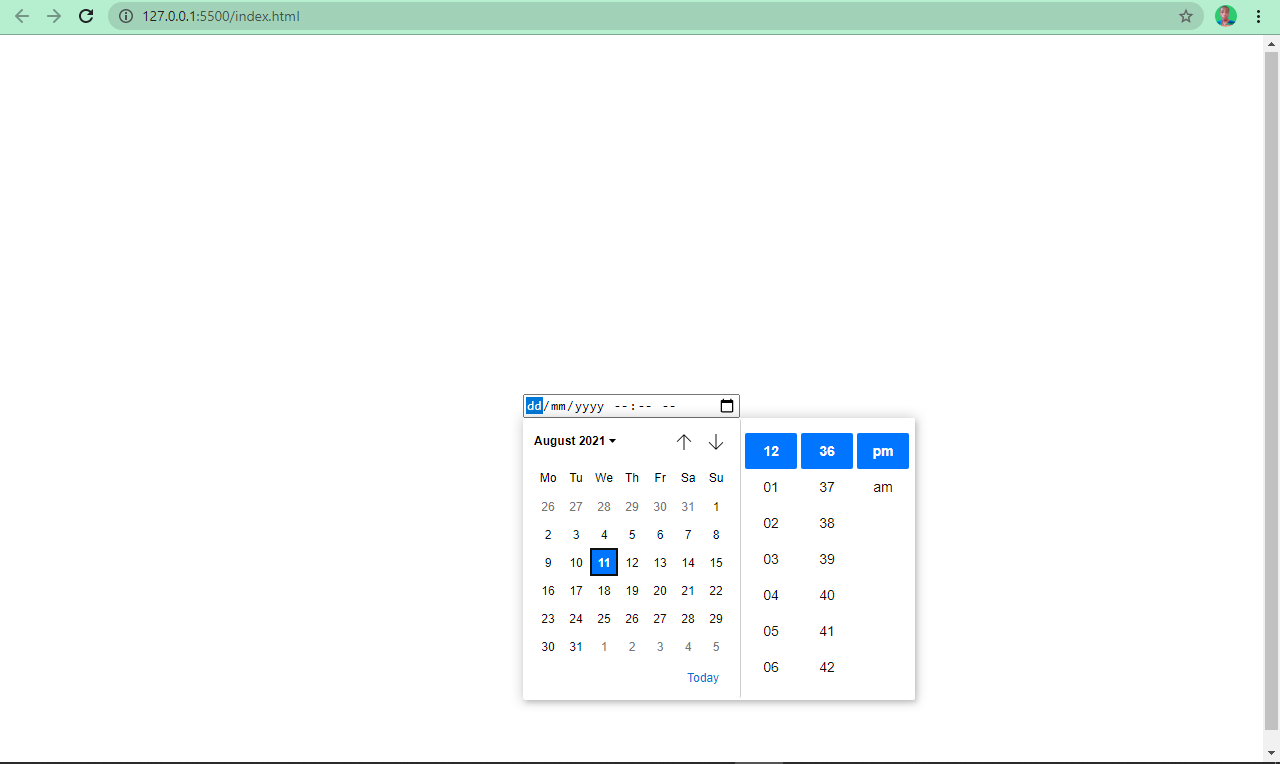
This works like the input type date, but it also lets the user pick a date with a particular time.
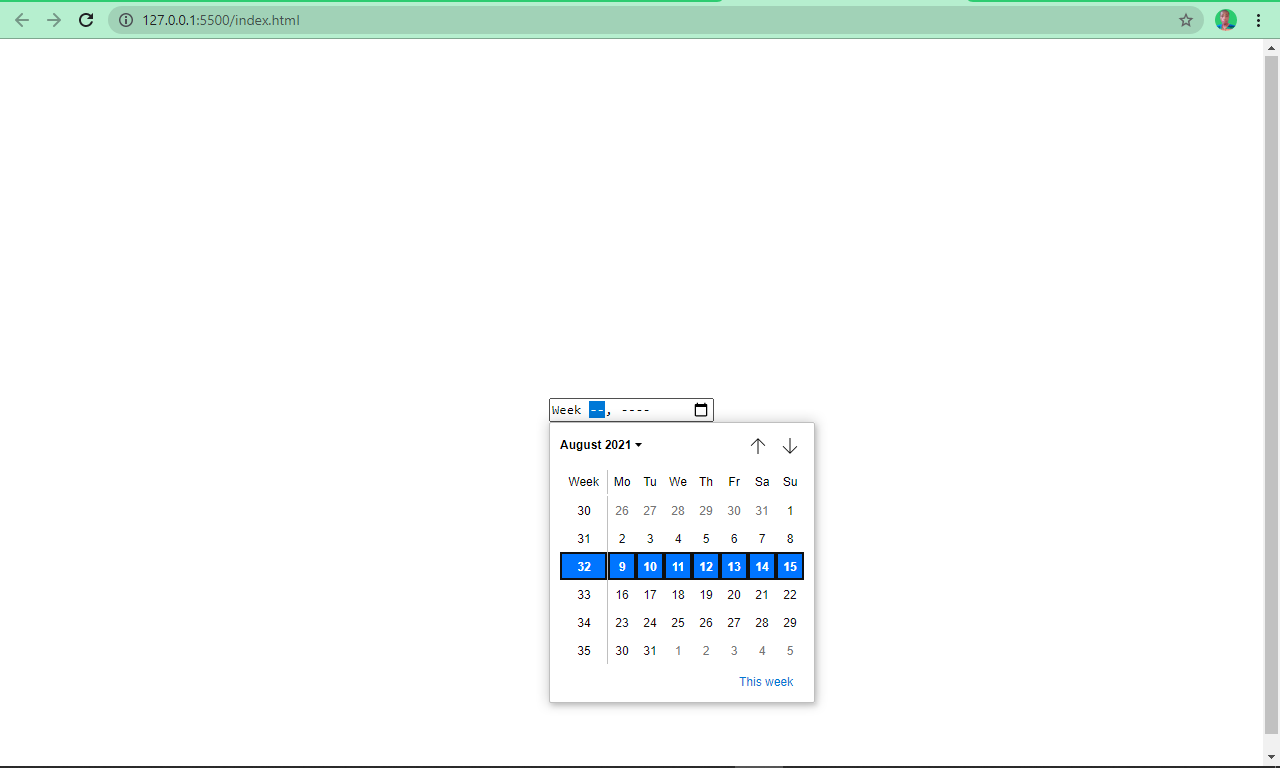
The input type of week lets a user select a specific week.
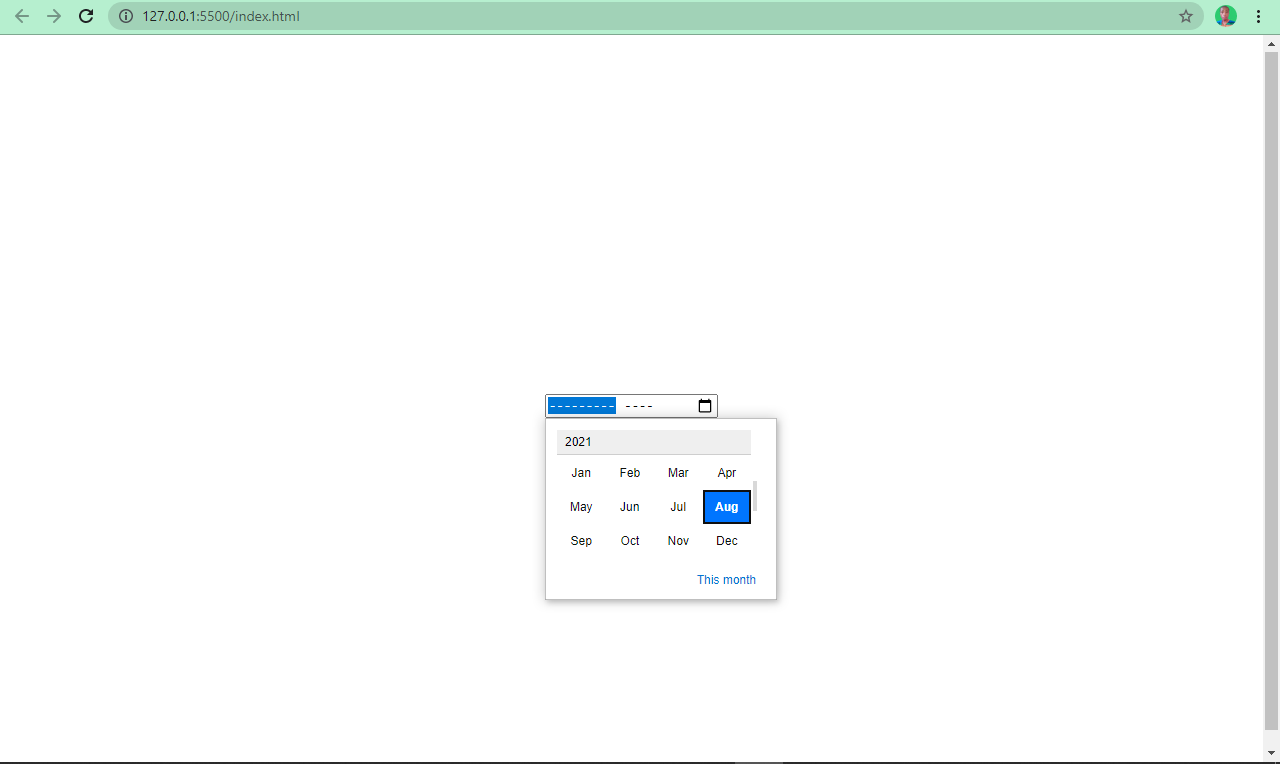
The input with the type of month populates months for the user to pick from when clicked.
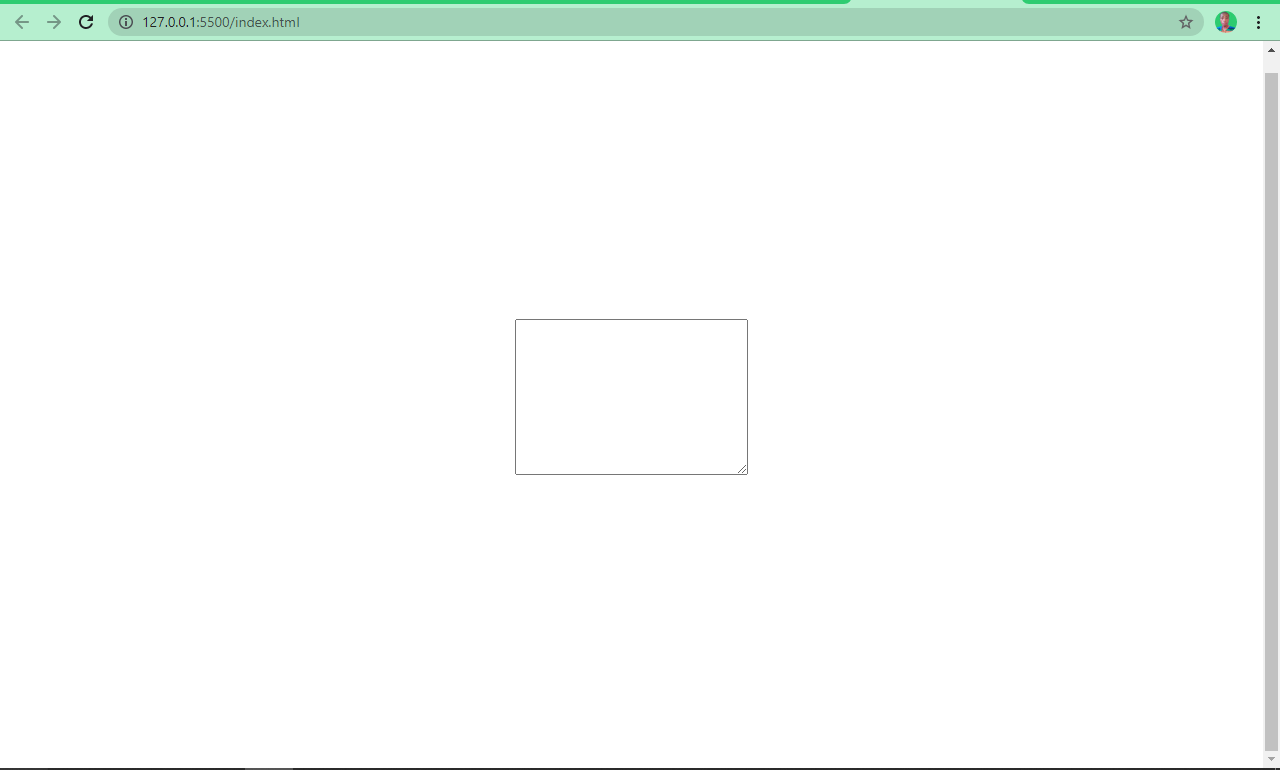
Textarea
There are times when a user will need to fill in multiple lines of text which wouldn’t be suitable in an input type of text (as it specifies a one-line text field).
lets the user do this as it defines multiple lines of text input. It takes its own attributes such as – for the number of columns, and for the number of rows.
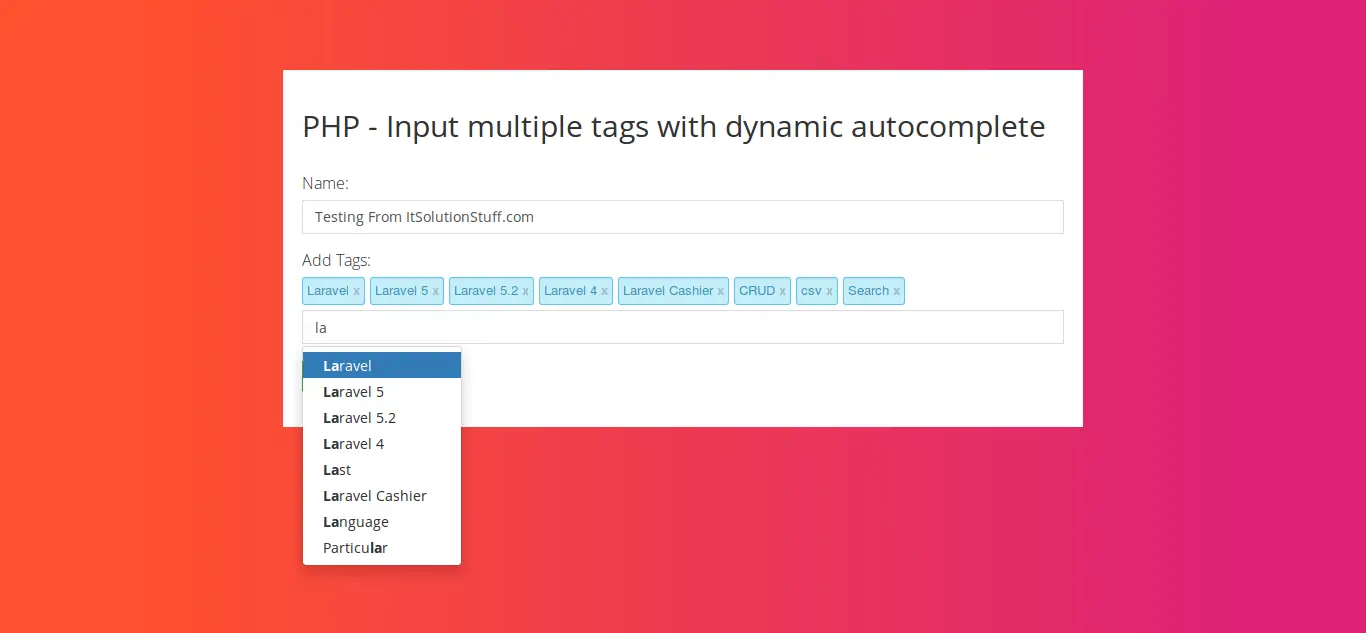
Multiple Select Box
This is like a radio button and checkbox in one package. It is embedded in the page with two elements – a element and an , which is always nested inside .
By default, the user can only pick one of the options. But with multiple attributes, you can let the user select more than one of the options.
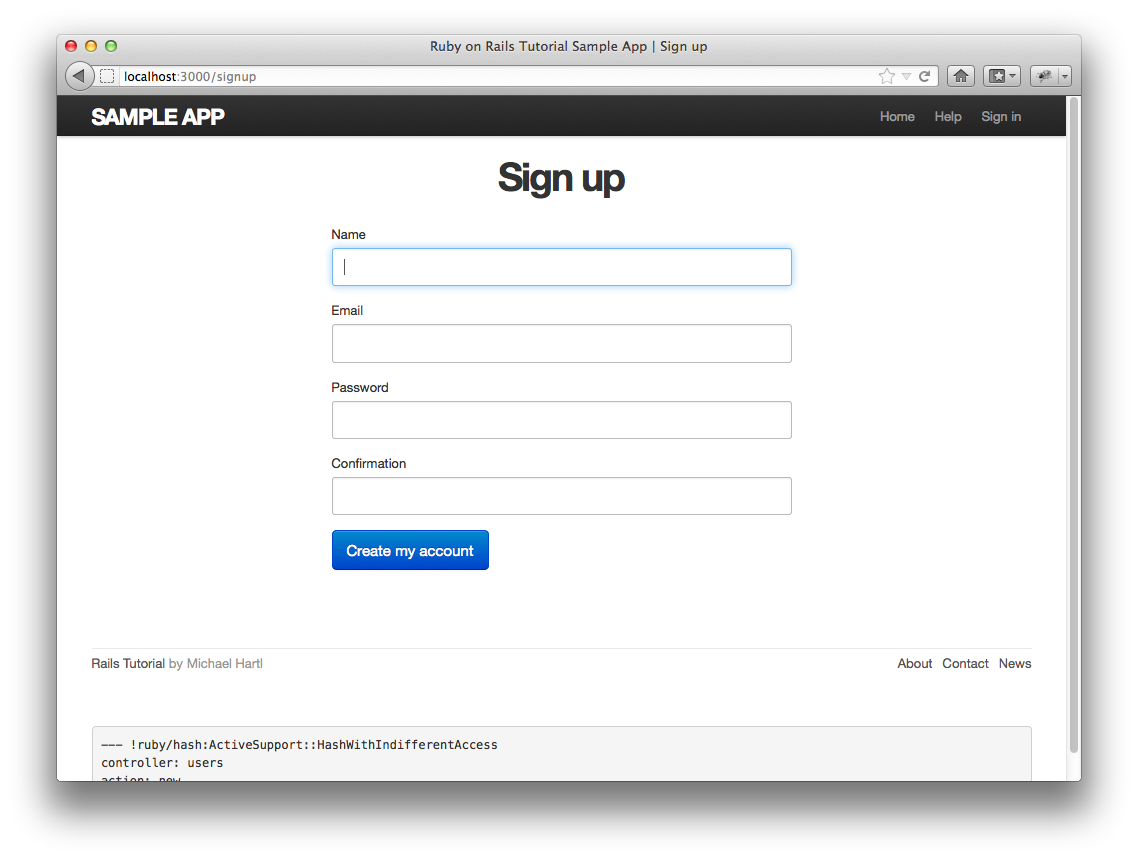
Создаём форму на HTML
Код формы необходимо помещать в <body> HTML документа.
<!DOCTYPE html>
<html lang="ru">
  <head>
    <meta charset="utf-8">
    <title>Формы</title>
  </head>
  <body>
    Здесь должна быть ваша форма.
   </body>
</html>
Я пропущу скелет документа дальше, чтобы было более понятно.
<form action="" method="post">
<p>Введите логин: <input type="text" name="login"></p>
<p>Введите пароль: <input type="password" name="pass"></p>
<p><input type="submit" value="Отправить" name="done"></p>
</form>
В атрибут action нужно указать обработчик формы (PHP-скрипт). Если поле пусто, значит, обработку формы выполнил тот скрипт, в котором расположена сама форма. В атрибут method нужно указать метод отправки формы (post или get). У каждого свои плюсы и минусы. Вкратце: post отправляет данные так, что пользователь не может их увидеть, а get — так, что они видны в URL-строке браузера.


Наглядный пример get:
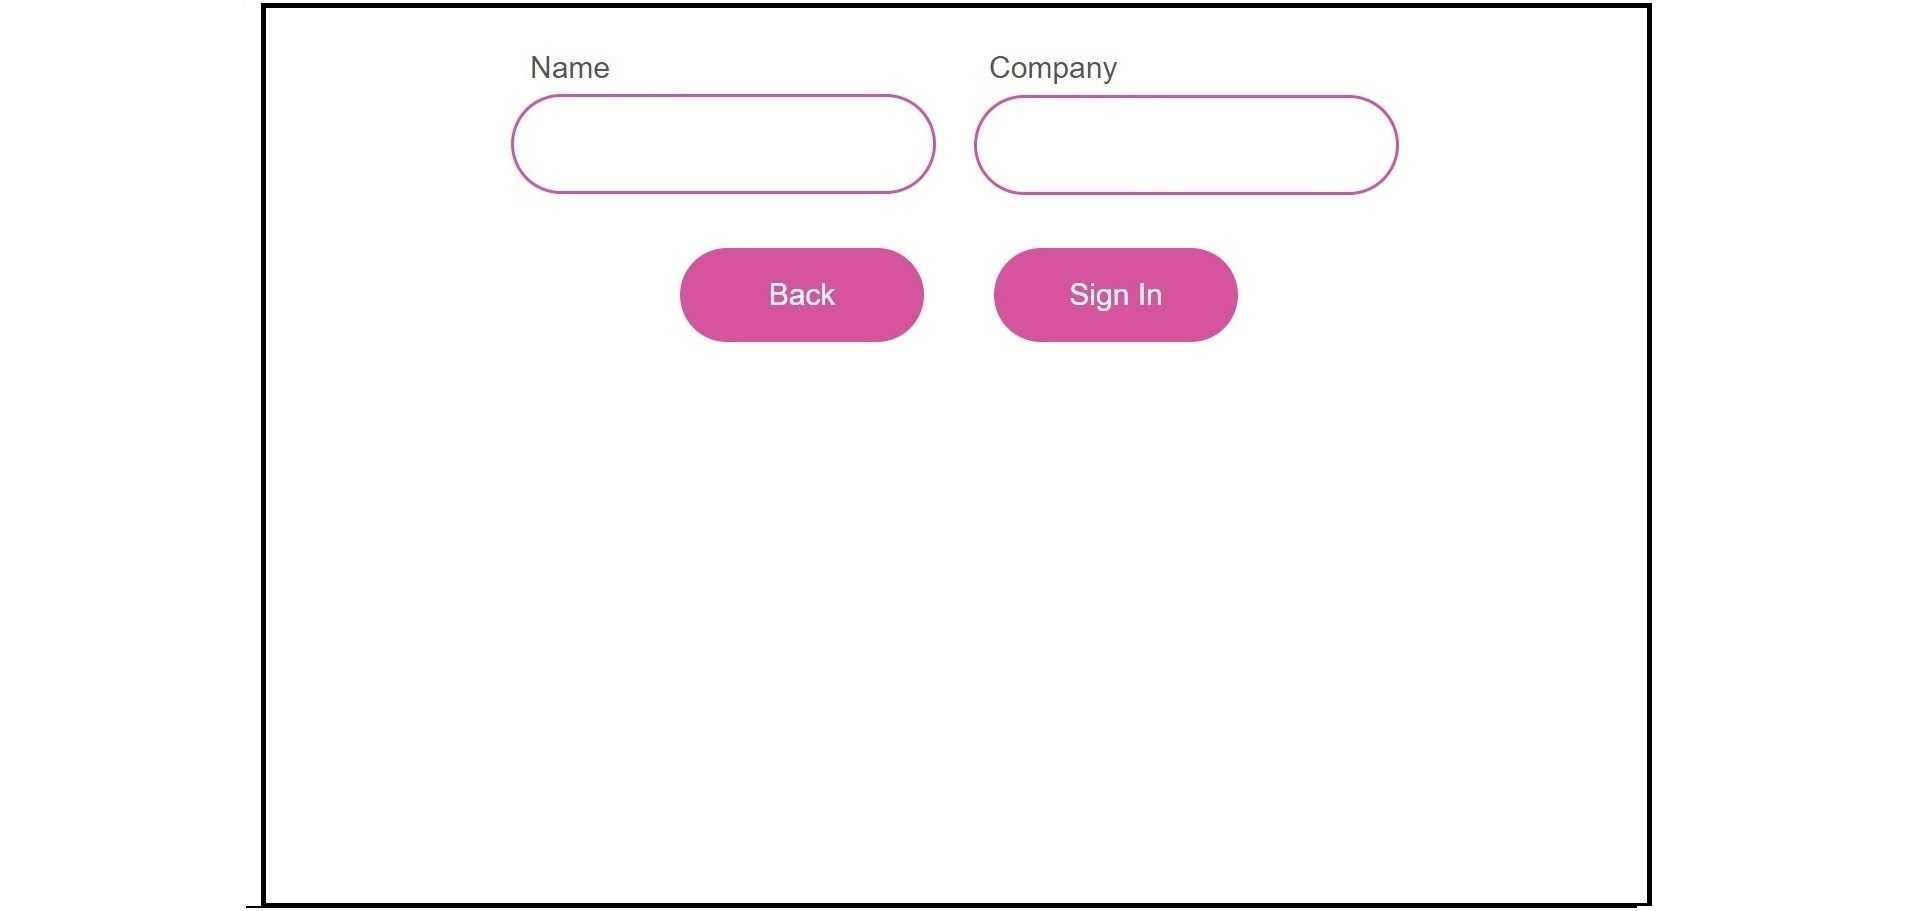
 Наглядный пример post:
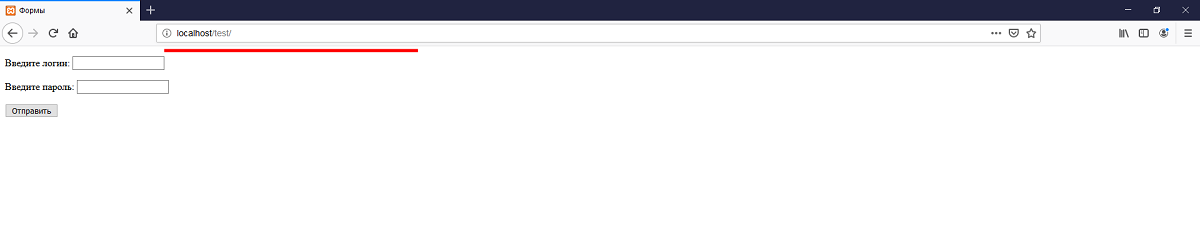 Немного по PHP:
При отправке формы методом POST данные записываются в суперглобальный массив $_POST.
При отправке формы методом GET данные записываются в суперглобальный массив $_GET.
К суперглобальным массивам $_POST и $_GET нужно обращаться обычным способом (как вы делаете это и с обычными ассоциативными массивами) $массив.
В форме мы сделали 3 <input>. Первые два — поле ввода логина и пароля. Третий — кнопка отправки формы.
Тег <input> имеет атрибут type=»». Для каждого случая указывают свой тип ввода. Допустим, text устанавливают для текста, submit — для отправки формы по атрибуту (action), а password — для пароля (чтобы он отображался звёздочками *).
Кроме того, тег <input> имеет атрибут name=»» и атрибут value=»». Value — стандартное значение элемента, name — предназначено для того, чтобы обработчик формы мог его идентифицировать.
Комьюнити теперь в Телеграм
Подпишитесь и будьте в курсе последних IT-новостей
Подписаться