

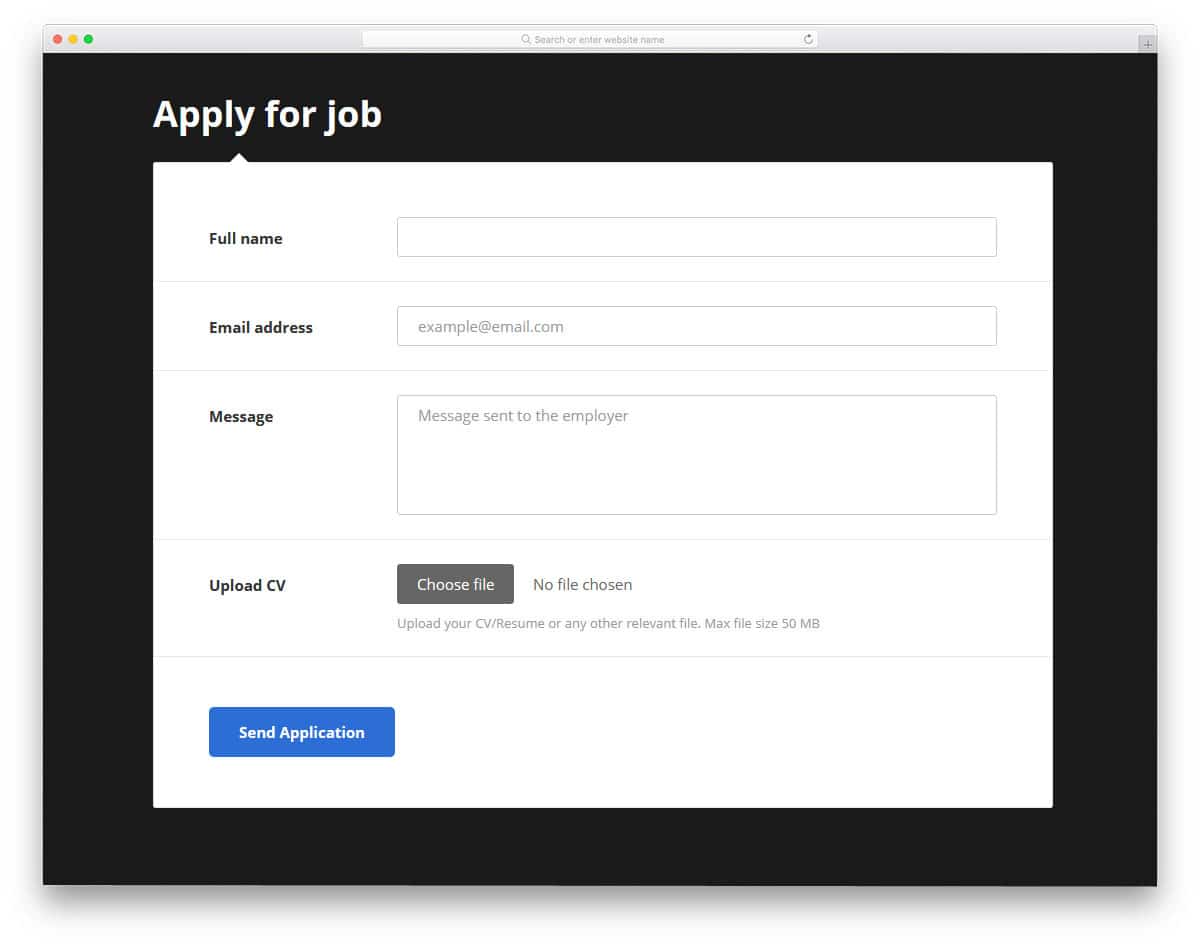
Multiple Attribute
There is an input multiple attribute that signifies that a user is permitted to enter more than one value into an input field.
Multiple values can be entered in a file upload field:
Example
Execute
<!DOCTYPE html>
<html>
<body>
</body></html>
Multiple attribute can be defined to only type that would be selected here is an example:
Example: 
Execute
<!DOCTYPE html>
<html>
<head>
</head>
<body>
<form>
<label for=»picture»>Choose your picture:</label>
<input type=»file» id=»picture» name=»picture» accept=»image/png, image/jpeg»>
<input type=»submit» value=»submit»>
</form>
</body>
</html>
Tel
Ввод телефонного номера с использованием стандартной буквенно-цифровой клавиатуры может быть затруднительным. Тут каждая числовая кнопка на телефонной клавиатуре (кроме 1 и 0) содержит три буквы (например, 2 представляет A, B и C), которые отображаются рядом с номером. Буквенно-цифровая клавиатура не ссылается на эти буквы, поэтому расшифровка телефонного номера в некоторых странах, содержащего буквы (например, 1-800-COLLECT), требует больших усилий.
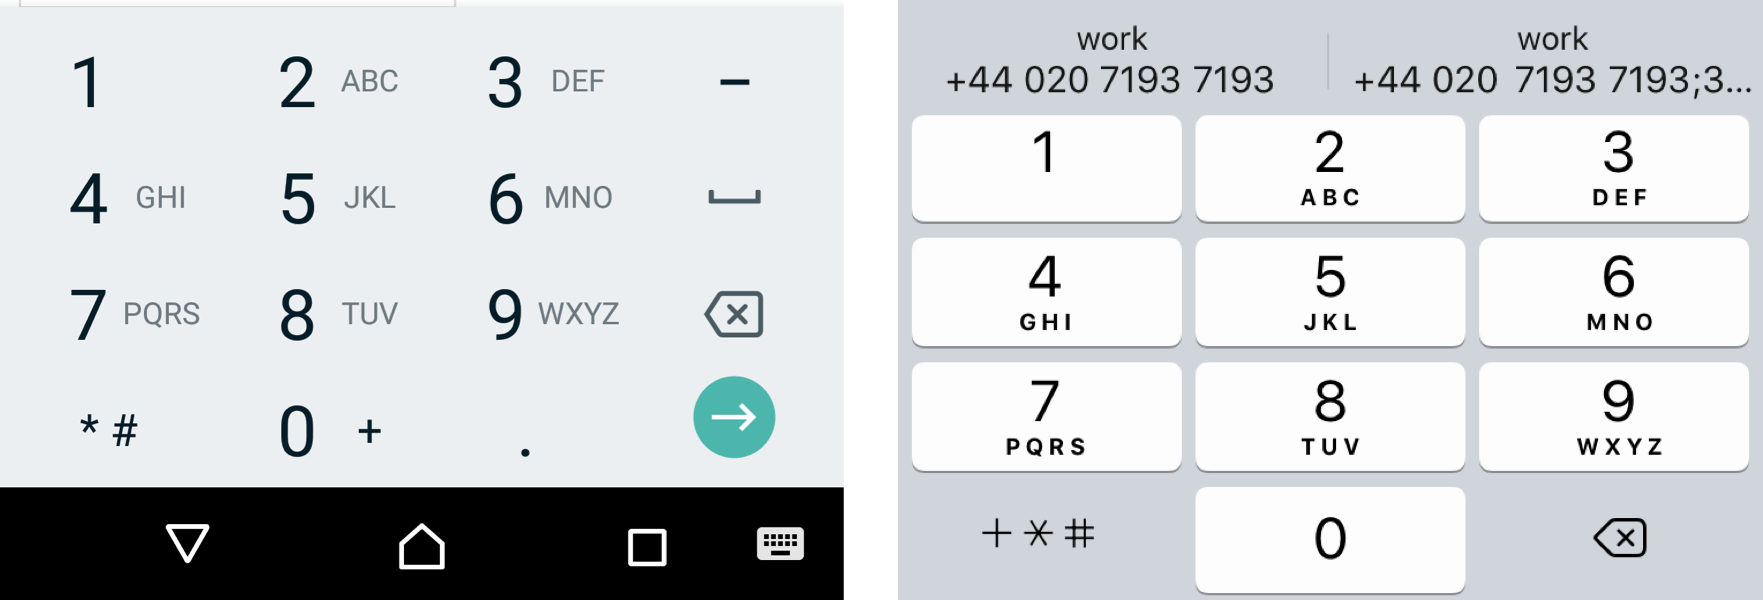 Значение tel в Chrome Android (слева) и iOS 12.2 (справа)
При использовании с установленным значением , будет доступна стандартная телефонная клавиатура, включающая клавиши для цифр от 0 до 9, знак решетки () и символ звездочки (). Кроме того, будут доступны буквенные мнемонические метки ().
JavaScript
JS Array
concat()
constructor
copyWithin()
entries()
every()
fill()
filter()
find()
findIndex()
forEach()
from()
includes()
indexOf()
isArray()
join()
keys()
length
lastIndexOf()
map()
pop()
prototype
push()
reduce()
reduceRight()
reverse()
shift()
slice()
some()
sort()
splice()
toString()
unshift()
valueOf()
JS Boolean
constructor
prototype
toString()
valueOf()
JS Classes
constructor()
extends
static
super
JS Date
constructor
getDate()
getDay()
getFullYear()
getHours()
getMilliseconds()
getMinutes()
getMonth()
getSeconds()
getTime()
getTimezoneOffset()
getUTCDate()
getUTCDay()
getUTCFullYear()
getUTCHours()
getUTCMilliseconds()
getUTCMinutes()
getUTCMonth()
getUTCSeconds()
now()
parse()
prototype
setDate()
setFullYear()
setHours()
setMilliseconds()
setMinutes()
setMonth()
setSeconds()
setTime()
setUTCDate()
setUTCFullYear()
setUTCHours()
setUTCMilliseconds()
setUTCMinutes()
setUTCMonth()
setUTCSeconds()
toDateString()
toISOString()
toJSON()
toLocaleDateString()
toLocaleTimeString()
toLocaleString()
toString()
toTimeString()
toUTCString()
UTC()
valueOf()
JS Error
name
message
JS Global
decodeURI()
decodeURIComponent()
encodeURI()
encodeURIComponent()
escape()
eval()
Infinity
isFinite()
isNaN()
NaN
Number()
parseFloat()
parseInt()
String()
undefined
unescape()
JS JSON
parse()
stringify()
JS Math
abs()
acos()
acosh()
asin()
asinh()
atan()
atan2()
atanh()
cbrt()
ceil()
cos()
cosh()
E
exp()
floor()
LN2
LN10
log()
LOG2E
LOG10E
max()
min()
PI
pow()
random()
round()
sin()
sqrt()
SQRT1_2
SQRT2
tan()
tanh()
trunc()
JS Number
constructor
isFinite()
isInteger()
isNaN()
isSafeInteger()
MAX_VALUE
MIN_VALUE
NEGATIVE_INFINITY
NaN
POSITIVE_INFINITY
prototype
toExponential()
toFixed()
toLocaleString()
toPrecision()
toString()
valueOf()
JS OperatorsJS RegExp
constructor
compile()
exec()
g
global
i
ignoreCase
lastIndex
m
multiline
n+
n*
n?
n{X}
n{X,Y}
n{X,}
n$
^n
?=n
?!n
source
test()
toString()
(x|y)
.
\w
\W
\d
\D
\s
\S
\b
\B
\0
\n
\f
\r
\t
\v
\xxx
\xdd
\uxxxx
JS Statements
break
class
continue
debugger
do…while
for
for…in
for…of
function
if…else
return
switch
throw
try…catch
var
while
JS String
charAt()
charCodeAt()
concat()
constructor
endsWith()
fromCharCode()
includes()
indexOf()
lastIndexOf()
length
localeCompare()
match()
prototype
repeat()
replace()
search()
slice()
split()
startsWith()
substr()
substring()
toLocaleLowerCase()
toLocaleUpperCase()
toLowerCase()
toString()
toUpperCase()
trim()
valueOf()
Numeric
Вероятно, это одно из наиболее распространенных значений режима ввода, поскольку оно идеально подходит для , которые ожидают цифры, а не буквы – ввод PIN-кода, почтовые индексы, номера кредитных карт и т. д. Использование для на самом деле может иметь больше смысла, чем установка только , потому что в этом случае он может использоваться с атрибутами , и , а это делает его более универсальным для различных вариантов использования.
 Значение numeric в Chrome Android (слева) и iOS 12.2 (справа)
Часто можно увидеть сайты, использующие для отображения цифровой клавиатуры. Это выглядит как обходной путь, но не будет семантически правильным. Если это вас раздражает, помните, что вместе с можно использовать шаблоны, т.о. для того же эффекта можно добавить . Тем не менее, использовать это следует только в том случае, если вы уверены, что должен разрешать только ввод чисел, поскольку Android (в отличие от iOS) не позволяет пользователю переключаться на клавиатуру для использования букв и это может непреднамеренно помешать пользователям отправлять действительные данные.
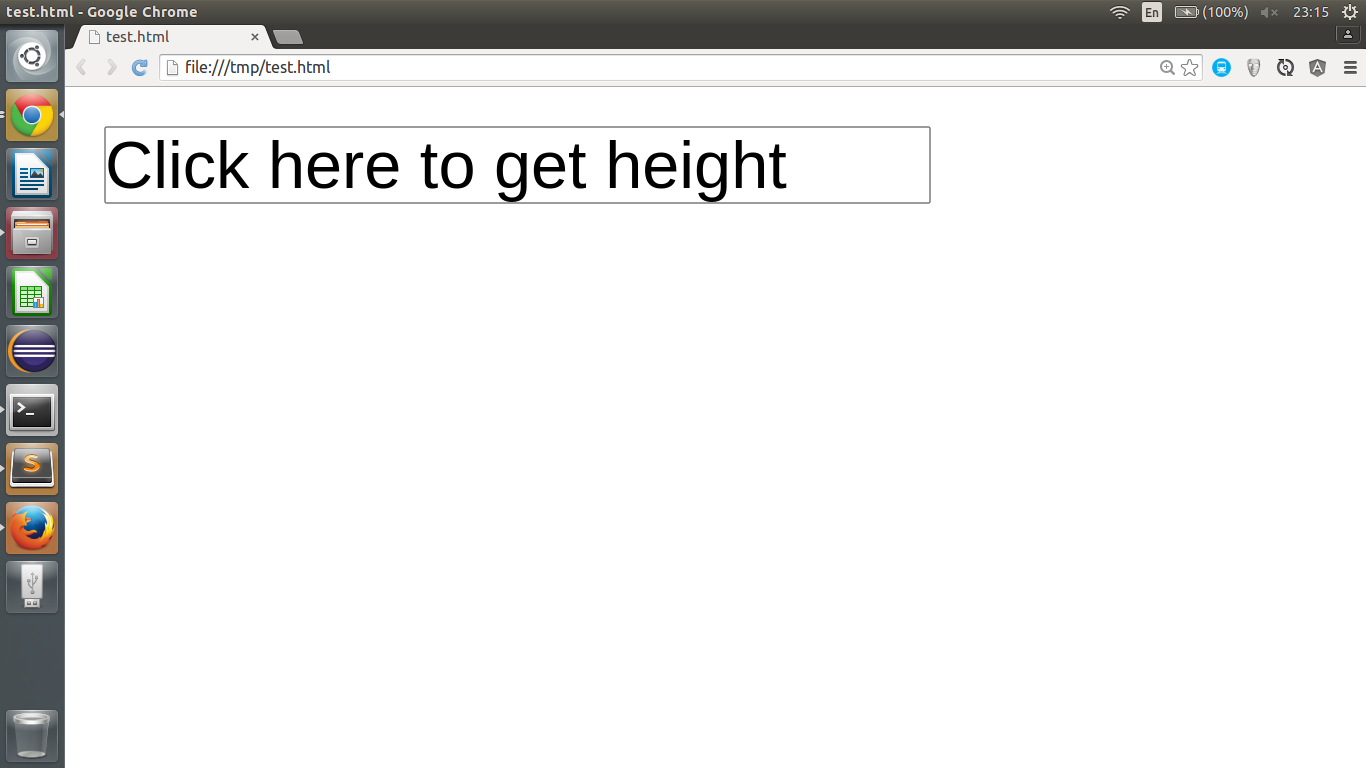
Height and Width Attributes
An <input type=”image”> element’s height and width are determined via the input height and width properties.
Suggestions: When adding an image to an HTML <input>, be sure to include both the height and width parameters. If the image’s height and width are predetermined, the necessary space is allocated when the website loads.
Without these parameters, the browser is unable to allocate enough space for the picture since it is unsure of its size.
The result will be a tweak in the website layout as it loads (while the images load).
Consider an image to be the submit button with characteristics for height and width:
Example
Execute
<!DOCTYPE html>
<html>
<body>
<form>
<label for=»fname»>owner first name:</label>
<input type=»text» id=»fname» name=»fname»><br><br>
<label for=»lname»>Last name:</label>
<input type=»text» id=»lname» name=»lname»><br><br><input type=»image» src=»img_submit.gif» alt=»Submit» width=»60″ height=»60″></form>
</body>
</html>
Step Attribute
In HTML input attributes, the input step attribute identifies a legal number interval for an input field.
As an example, if step=”3″, legal numbers could be -3, 0, 3, 6, etc.
To generate a range of legal values, pair this attribute with the max and min attributes.
Numbers, ranges, dates, datetime-local, months, times, and weeks are all supported by the step attribute.
Input field with legal number intervals:
Example
Execute
<!DOCTYPE html>
<html>
<body>
<form>
<label for=»points»>Points:</label>
<input type=»number» id=»points» name=»points» step=»3″>
</form>
</body>
</html>
Additional Information : There are many ways to add illegal input to JavaScript, and input restrictions are not 100% reliable. It is also necessary for the receiver (the server) to check input in order to restrict it safely!
HTML Attributes Advanctages
HTML input attributes offer a number of advantages when creating web forms or other user input scenarios:
- Improved user experience: HTML input attributes can help guide users by providing helpful hints or required fields. This can make the user experience more intuitive and improve the chances of users successfully submitting the form.
- Flexibility: The range of input types and attributes available with HTML input elements makes it possible to create a variety of custom form controls to suit different needs.
- Accessibility: Certain attributes, such as the “required” attribute, can make web forms more accessible for users with disabilities by providing clear guidance on how to complete the form.
- Simplified validation: HTML input attributes can be used to validate form data before it is submitted, which can help reduce errors and prevent incomplete or inaccurate data from being entered.
- Improved security: HTML input attributes can be used to prevent malicious attacks, such as SQL injection or cross-site scripting, by validating data before it is submitted.
If this article helped you to fulfill your educational desire in anyway, do share this meaningful with your friends as well.
We value your feedback.
+1
+1
+1
+1
+1
+1
+1


Placeholder Attribute
In HTML input attributes, input placeholders indicate a short description of a field’s expected value (a sample value or a short description of its expected format).
A short hint appears before the user enters a value in the input field.
Input types supported by the placeholder attribute include:
- Text
- Search
- Url
- Tel
- Password
There is a placeholder text in the input field:
Example: 
Execute
<!DOCTYPE html>
<html><body><br><br><br><br><form><br><label for=»phone»>Enter a phone number:</label><br><br><input type=»tel» id=»phone» name=»phone» placeholder=»123-45-678″ pattern=»{3}-{2}-{3}»><br></form><br><br>
</body></html>
Pattern Attribute:
A regular expression is required when the input pattern attribute is included in HTML input attributes, so that the input field’s value is validated based on it.
Input types supported by the pattern attribute include:
- Text
- Date
- Search
- Url
- Tel
- Password
You can help the user by describing the pattern through the global title attribute.
Please take a look at our JavaScript tutorial for more information about regular expressions.
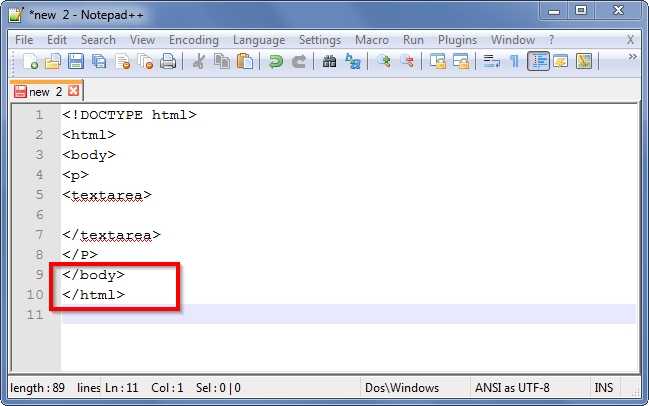
A text area that can consist of only three letters with no numbers or special characters (for example, a capital letter):
Execute
<!DOCTYPE html>
<html>
<body>
</body></html>
HTML Textarea
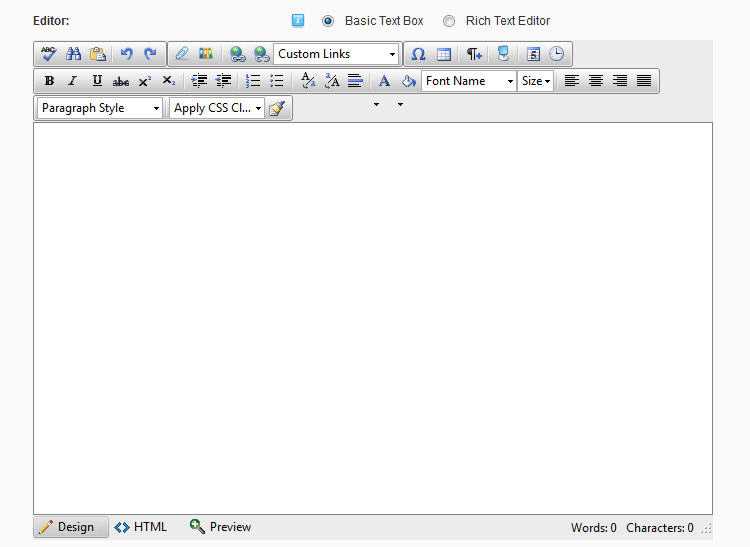
If you’d like to ask users to submit a comment on a form, then a single-line text field won’t work. Users could submit a comment via a text input field, but most of their answers will be hidden. Instead, you can create a multi-line text field using the HTML <textarea> element.
The process of creating a text area is similar to creating a text box. You create a <label> element with a for attribute. You create a <textarea> element with an ID and name attribute set to the same value as the for attribute. You can also specify the <cols> and <rows> attributes to set the size of the text area.
Here’s an example:
See the Pen HTML Textarea example by HubSpot (@hubspot) on CodePen.
What is the HTML input element?
The element is most commonly used for collecting and retrieving user data from a web form.
It’s where users enter their data.
It’s nested inside the element and it’s a self closing element. This means it does not require a closing tag. (Closing tags have a forward slash, .)
You use it to create different styles of input fields, or form input controls, for users to enter a variety of different kinds of information.
The way to determine the type of input field, or form input control, is to set the attribute and assign it a value.
The general syntax of looks something like this:
For example, to create a field that allows users to upload a file, the element would look like this:
The attribute determines what kind of data the element can accept.
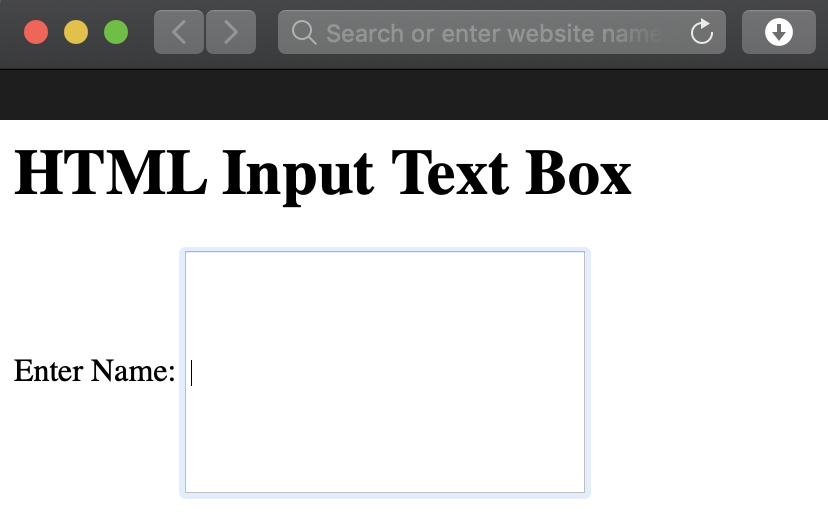
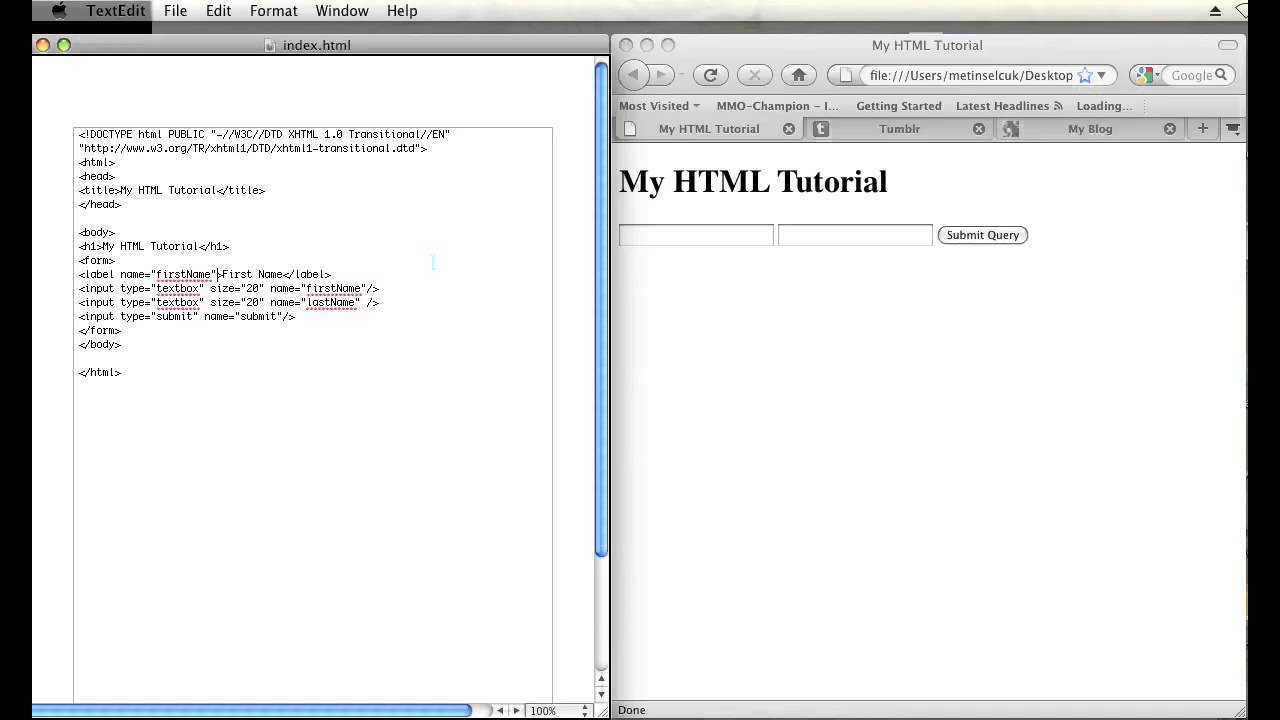
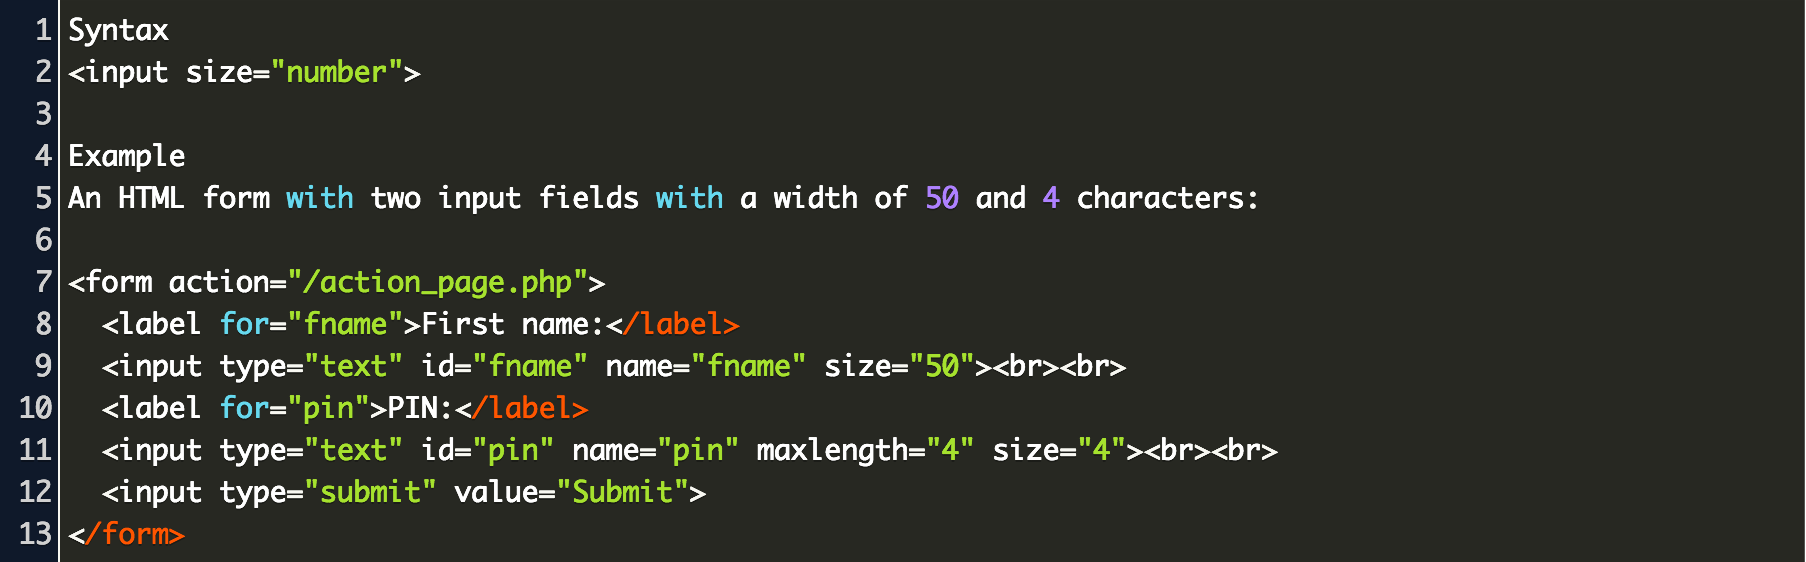
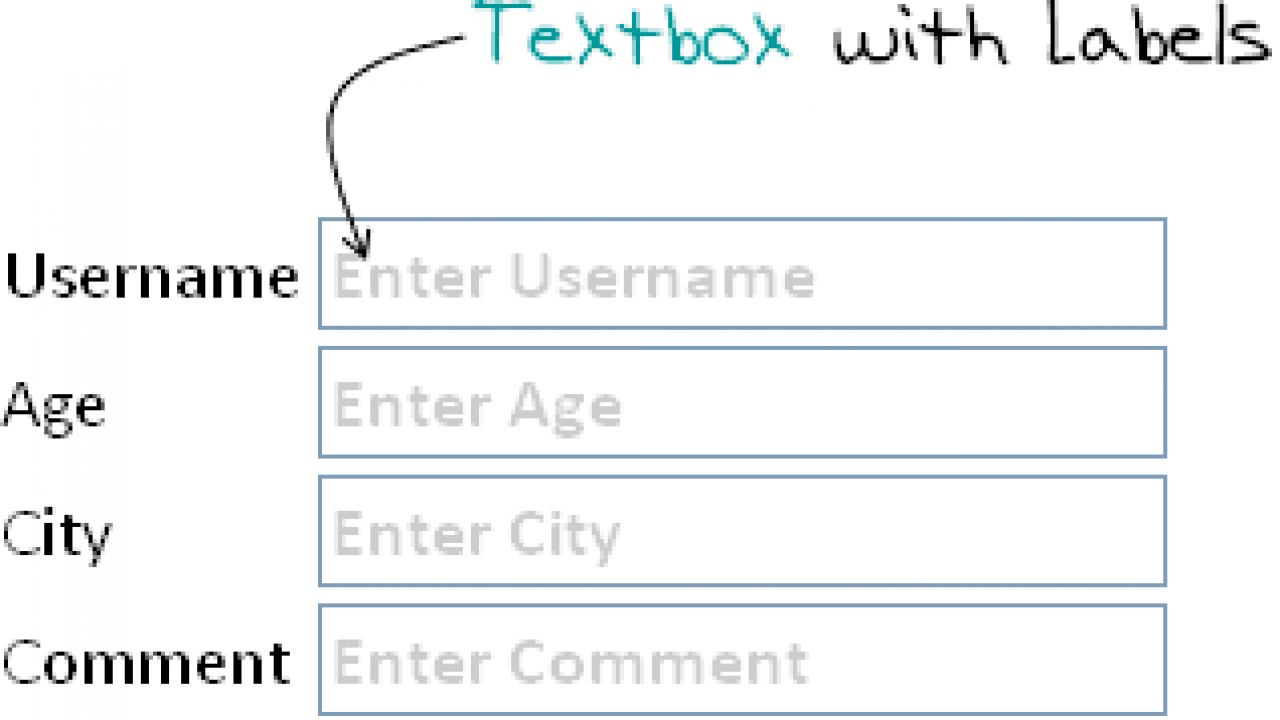
How to Make a Text Box in HTML
It’s easy to create a text box in HTML with the <input> element. Let’s break the process down step-by-step below.
Step 1: Create a label element.
To start, create a <label> element. In the opening tag, add a for attribute with a shorthand name for the text box. For example, you might set the attribute equal to “Name”, “FirstName”, or “LastName.” Here’s what your HTML might look like so far:
Step 2: Create an input element.
Next, create an <input> element. In the opening tag, add a type attribute and set it to “text”. Note that this is its default value. Then, add an ID and name attribute and set both to the same value as the for attribute in the previous step.
So, for this example, you’d set the name and ID attributes to “Name.” Here’s the HTML:
The name attribute is required for any data from a form to be submitted. The id attribute is required to associate the input field with a label.
Step 3: Define any other attributes needed.
Text inputs support additional attributes, like maxlength, minlength, and placeholder, which can provide important context to users as they fill out a form.
For example, you may want to add placeholder text to the example input field above to specify that you’re looking for the user’s first and last name. Here’s the HTML side-by-side with the result on the front end.
See the Pen HTML Text Box Input Example by HubSpot (@hubspot) on CodePen.
Here’s a video that can explain these steps in more detail.
![How to make an html text box [examples]](https://rwvt.ru/wp-content/uploads/3/5/0/3500cb7098674fd35ad6de77e15921b7.png)
Tips and Tricks
While working with s, there have been some helpful tips and tricks I’ve learned along the way. Some have been born out of bug-fixes, design, or just out of curiosity. My favorite discovery is one I like to call “show me your password”, and I know you might be familiar with this, but it is one I’m really proud of.
Show me your password
Password inputs are everywhere, from login forms to registration forms. When users type in their password, it is a good idea to let them see what they’re typing so they can correct their mistakes should they need to.
You’ve seen it before. Here’s an example in the wild:

There’s often a toggle button at the end of the input that toggles the display of the password. What happens when the user clicks that button? Well, we programmatically switch the type of the input from to .
Here’s an example:
Click event with checkboxes
This one is interesting. Think about what a click state is: a boolean, true or false, clicked or not-clicked. The has a checked property that lets us know if the checkbox has been checked or not. Couple this with a label, and we can create something interesting.
Let’s take a look at this snippet:
<div class="div">
  <input type="checkbox" id="toggle" />
  <label for="toggle">toggle dropdown</label>
  <div class="dropdown">
    <p>Lionel Messi</p>
    <p>Cristiano Ronaldo</p>
    <p>Andres Iniesta</p>
    <p>Xavi</p>
  </div>
</div>
When a label is clicked, it focuses the corresponding input whose value matches its value.
In the case of a checkbox, clicking the associated label activates it. It toggles the checked attribute on (true) or off (false).
That’s an interesting lead.
One of my use cases for this is for a dropdown. With an extra bit of CSS, I can control the height of my dropdown:
.dropdown {
  max-height: 0px;
  overflow: hidden;
}

input:checked + label + .dropdown {
  max-height: 150px;
}
Initially the dropdown height will be 0. Then, when the checkbox is checked, (), you’ll look for the next sibling (which is a label). Then, look for the next sibling after that — that’s the dropdown.
Here’s a complete example:
The Checkbox hack is more of a side-effect, and it’s definitely far from perfect. You need to have an absolute maximum height for your dropdown when it shows up, and ordinarily the dropdown elements will remain in the DOM. So be prudent with it, and make sure it solves your entire use case before using it.
Autocomplete Attribute
The autocomplete property indicates whether autocomplete should be turned on or disabled for a form or input field.
With autocomplete, the web browser may anticipate the value. Based on previously entered values in HTML input attributes, the browser should provide alternatives to the user when they begin to text in a field.
The autocomplete property is supported by form> and the input> types listed below:
- Text
- Date pickers
- Search
- Url
- Phone
- Colour
- range
- Password
An HTML input with autocomplete enabled for one input field and disabled for the others:
Example
Execute
<!DOCTYPE html>
<html>
<body>
<form action=»/action_page.php» autocomplete=»on»>
<label for=»fname»>Owner first name:</label>
<input type=»text» id=»fname» name=»fname»><br>
</form></body></html>
Piece of advice: In certain browsers, you may have to enable the autocomplete feature (see under “Preferences” in the browser’s menu).
Examples
In our first example we’ll create a with three text input controls. As we’re almost certain that the user browsing the page is John, we’ll place his name in the attribute of the first control.
In the third control, we’ll make use of the attribute, which has been introduced in HTML5. This attribute allows us to give a hint about the data that’s expected to be provided in the control, like examples or short descriptions. This hint will be displayed inside the control (as if it were the value) only while the control has no real value. When the user starts typing, the text will be removed from the control.
In the second example, we’ll use some other attributes: to establish the width of the control as a number of visible characters and to set the maximum number of characters the value may have.
Authors shouldn’t rely on the and attributes. Users could submit the with browsers (some intentionally) not supporting these features.
In our third example, we’ll explore a couple of attributes that can be mistakenly seen as having the same effect. The first attribute is which prevents the user from editing the value of the control, yet allowing him to select and copy its text. The attribute , in the other hand, goes further by not allowing the user to select or copy its text and plus prevents the value of the element to be sent when the form is submitted.
Here you’ll be able to see how these attributes affect the interacition and, specially, how the data is submitted (or not submitted) to the server.
Now let’s check another new attribute in HTML5: . This attribute links the control to a element by referencing its attribute. The associated provides a number of suggestions that users can pick to automatically fill the control’s value.
Browser support for is incomplete. Authors may have to rely on scripts to provide this functionality cross-browser.
Our final example combines two attributes, also new in HTML5, that usually work well together. These are and . Their importance becomes evident when the author needs to set rules about the format of data that can be input in a control.
![How to make an html text box [examples]](https://rwvt.ru/wp-content/uploads/0/e/9/0e9551f0669b1a9be4c7634e16e3c957.jpeg)
The attribute, helps by estabishing a regular expression that any input value must comply with. When it’s set, the attribute takes particular relevance, as it’s responsible of providing an explanation about the rules that apply on the field. Browsers may use this information to compose the error message shown to the user after an unsuccessful submission.
In the other hand, the attribute disallows users to leave the field empty. Both attributes, together, indicate that the control must be filled and specify how it must be filled.
The presence of these attributes implies that form submission will be prevented until their requirements are fulfilled. Browsers will show error messages when users attempt to submit non complying fields.
A regular expression is a sequence of characters that forms a search pattern, mainly for use in pattern matching with strings or search-and-replace like operations.
Browser support for the attribute is incomplete. Authors may have to rely on scripts to provide this functionality cross-browser.
What are Web Forms?
Forms are an efficient way of gathering information.
There are many cases where you would need to fill out a physical form, a printed physical document, and give out personal details.
For example, you may fill out a form and hand it to someone when you’re starting a new job, or when you’re going for a medical checkup, or when you are in the process of renting/buying a house – or any other time when paperwork is necessary.
Just like physical forms, online digital web forms are a way to receive and collect input, information, and important data from users and visitors, using a combination of web technologies.
A web form mimics a physical form by containing spaces for users to fill out their information.
Web forms use a variety of tools, or form controls, to collect user input.
A website can have a search box, or a text input field, for entering a single line of text. This enables users to search for something specific.
A website can also contain a registration form that lets users sign up for a newsletter or other updates.
Many websites also have sign-up / sign-in forms when making an online purchase, for example, where users enter their username in a text field and their password in a separate field. Although password fields are also text fields, each text character is covered up by a black dot to hide what is being typed.
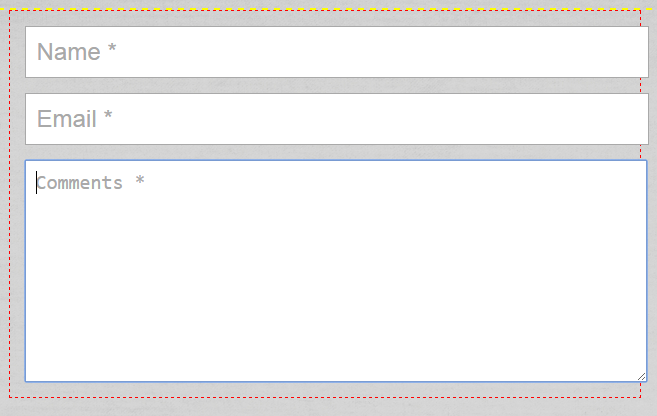
A website can also have a larger textarea for users to enter longer passages of text, which is useaful for leaving a comment underneath a blog post.
Many forms also allow the user to choose a particular option from a number of options by selecting a radio button. They can allow the user to choose more than one option by checking/unchecking a checkbox.
Lastly, all forms have a submit button, to submit the data to a server where it will be stored or processed.