Step 1 — Creating the Base Application
Before we explore how to use the Animate.css library, let’s build a small todo-list application. This will give us some elements to style. We will then code a animation using standard CSS3.
First, make a new folder for this project:
And then navigate inside:
We are going to create three files here: , , and .
Use or your preferred code editor to create the first file, :
Add the following content to define a brief HTML document with links to our CSS and Javascript files:
./animate-css-example/index.html
Here we have added a title, , and linked to our CSS stylesheet (which we will make next). We then define some Javascript objects inside a tag and link to our third file, .
Save and close the file.
Now create and open in your editor:
Add the following content, which will define our animation:
./animate-css-example/style.css
We have defined the duration of the animation and used the at-rule to configure one animation cycle.
Save and close the file.
Now let’s create our final file, :
Add the following content. This will define our function and embed our animation:
./animate-css-example/app.js
Our Todo app includes a text field and a button. When we enter text into the field and press the button, a new element is created and our text is appended to it. Note the highlighted line. Here we have added the class to every newly created element.
Save and close the file.
Now open a browser and load . A field and a button will appear. Write some text in the field and press Add Todo. Your new todo will fade in.
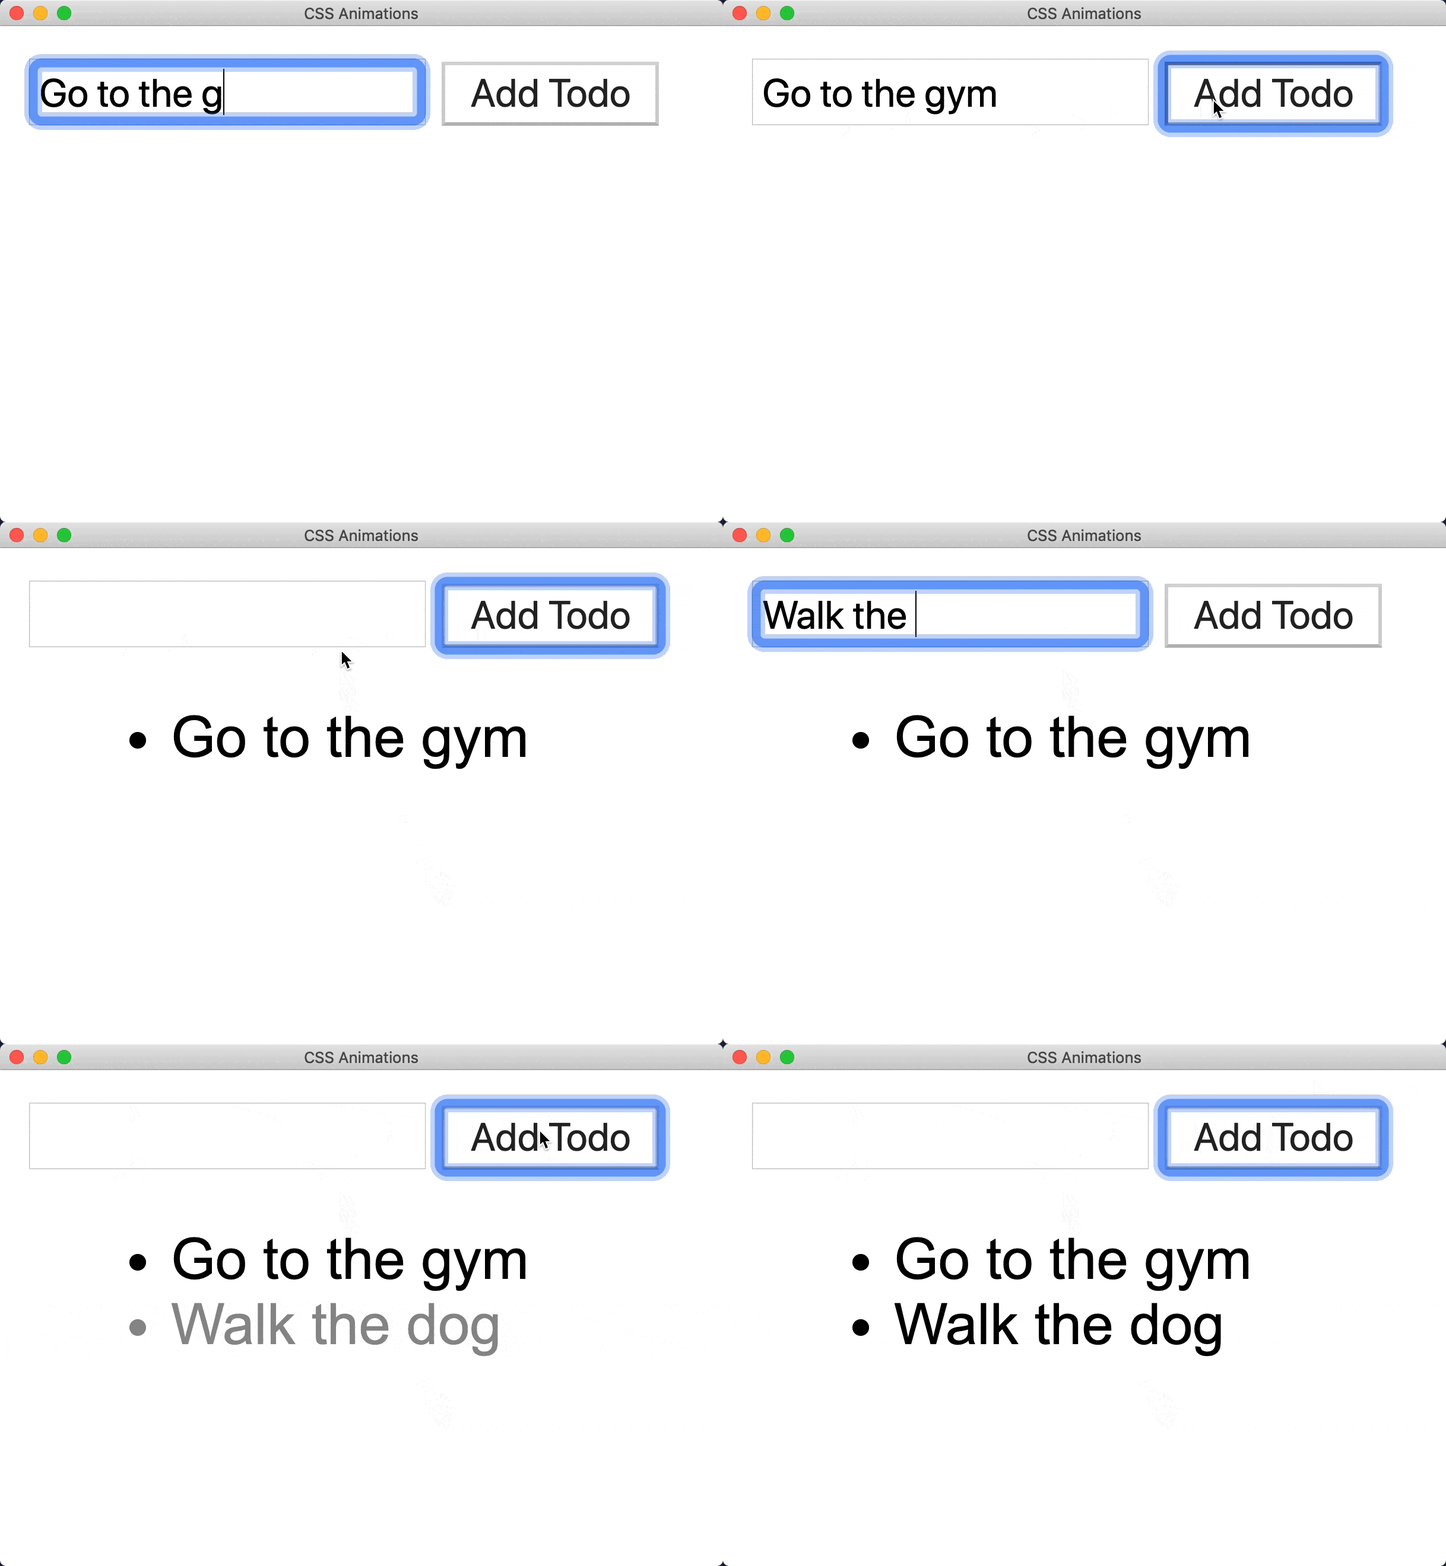
We have successfully applied a CSS animation to an element using standard CSS3. Now let’s refactor our code to use Animate.css and see how it can improve our productivity and readability. After that, we will explore a few more animations in the library.
Best Practices
Animations can greatly improve an interface’s UX, but it’s important to follow some guidelines to not overdo it and deteriorate the user experience on your web-things. Following the following rules should provide a good start.
Meaningful animations
You should avoid animating an element just for the sake of it. Keep in mind that animations should make an intention clear. Animations like attention seekers (bounce, flash, pulse, etc) should be used to bring the user’s attention to something special in your interface and not only as a way to bring «flashiness» to it.
Entrances and exit animations should be used to orientate what is happening in the interface, clearly signaling that it’s transitioning into a new state.
It doesn’t mean that you should avoid adding playfulness to the interface, just be sure that the animations are not getting in the way of your user and that the page’s performance is not affected by an exaggerated use of animations.
Don’t animate large elements
Avoid it as it won’t bring much value to the user and will probably only cause confusion. Besides that, there is a good chance that the animations will be junky, culminating in bad UX.
Don’t animate root elements
Animating the or tags is possible, but you should avoid it. There were some reports pointing out that this could trigger some weird browser bugs. Besides, making the whole page bounce would hardly provide good value to your UX. If you indeed need this sort of effect, wrap your page in an element and animate it, like this:
Infinite animations should be avoided
Even though Animate.css provides utility classes for repeating animations, including an infinite one, you should avoid endless animations. It will just distract your users and might annoy a good slice of them. So, use it wisely!
Mind the initial and final state of your elements
All the Animate.css animations include a CSS property called , which controls the states of an element before and after animation. You can read more about it here. Animate.css defaults to , but you can change it to suit your needs.
Don’t disable the media query
Since version 3.7.0 Animate.css supports the media query which disables animations based on the OS system’s preference on supporting browsers (most current browsers support it). This is a critical accessibility feature and should never be disabled! This is built into browsers to help people with vestibular and seizure disorders. You can read more about it here. If your web-thing needs the animations to function, warn users, but don’t disable the feature. You can do it easily with CSS only. Here’s a simple example:
See the Pen
Prefers-reduce-motion media query by Elton Mesquita (@eltonmesquita)
on CodePen.
Conclusion
CSS Text animations are great, they help create an inviting space for the visitors and help catch the eye towards a certain location. They can suit very well in one-page websites with full screen sections, creating a very appealing design for the user. I’m thinking about product landing websites, squeeze pages, etc.
FullPage.js library is the perfect tool to create this kind of fullscreen website. It is available for WordPress builders like Elementor and Gutenberg. Add one of these CSS text animations in fullscreen mode and I’m sure the result will be promising. For example, as we explained in the 1st CSS text animation, the scroll-triggered animation fits very well in a one-page website with multiple sections.
It can be difficult to choose the right animation though, not all animations will work well on all designs, so be sure to ask yourself if the animation is too busy and maybe opt for a more subtle one. Don’t overuse CSS text effects either, it will make the page look tacky and overrun with animations.
CSS-библиотеки для анимации
Animate.css
Библиотека включает около ста разных эффектов, в том числе появление и исчезание элементов, вращение, изменение размеров и «дребезг». Вы можете использовать её, например, чтобы выделить текст, подсказки или что-то ещё, на чём нужно поставить акцент.
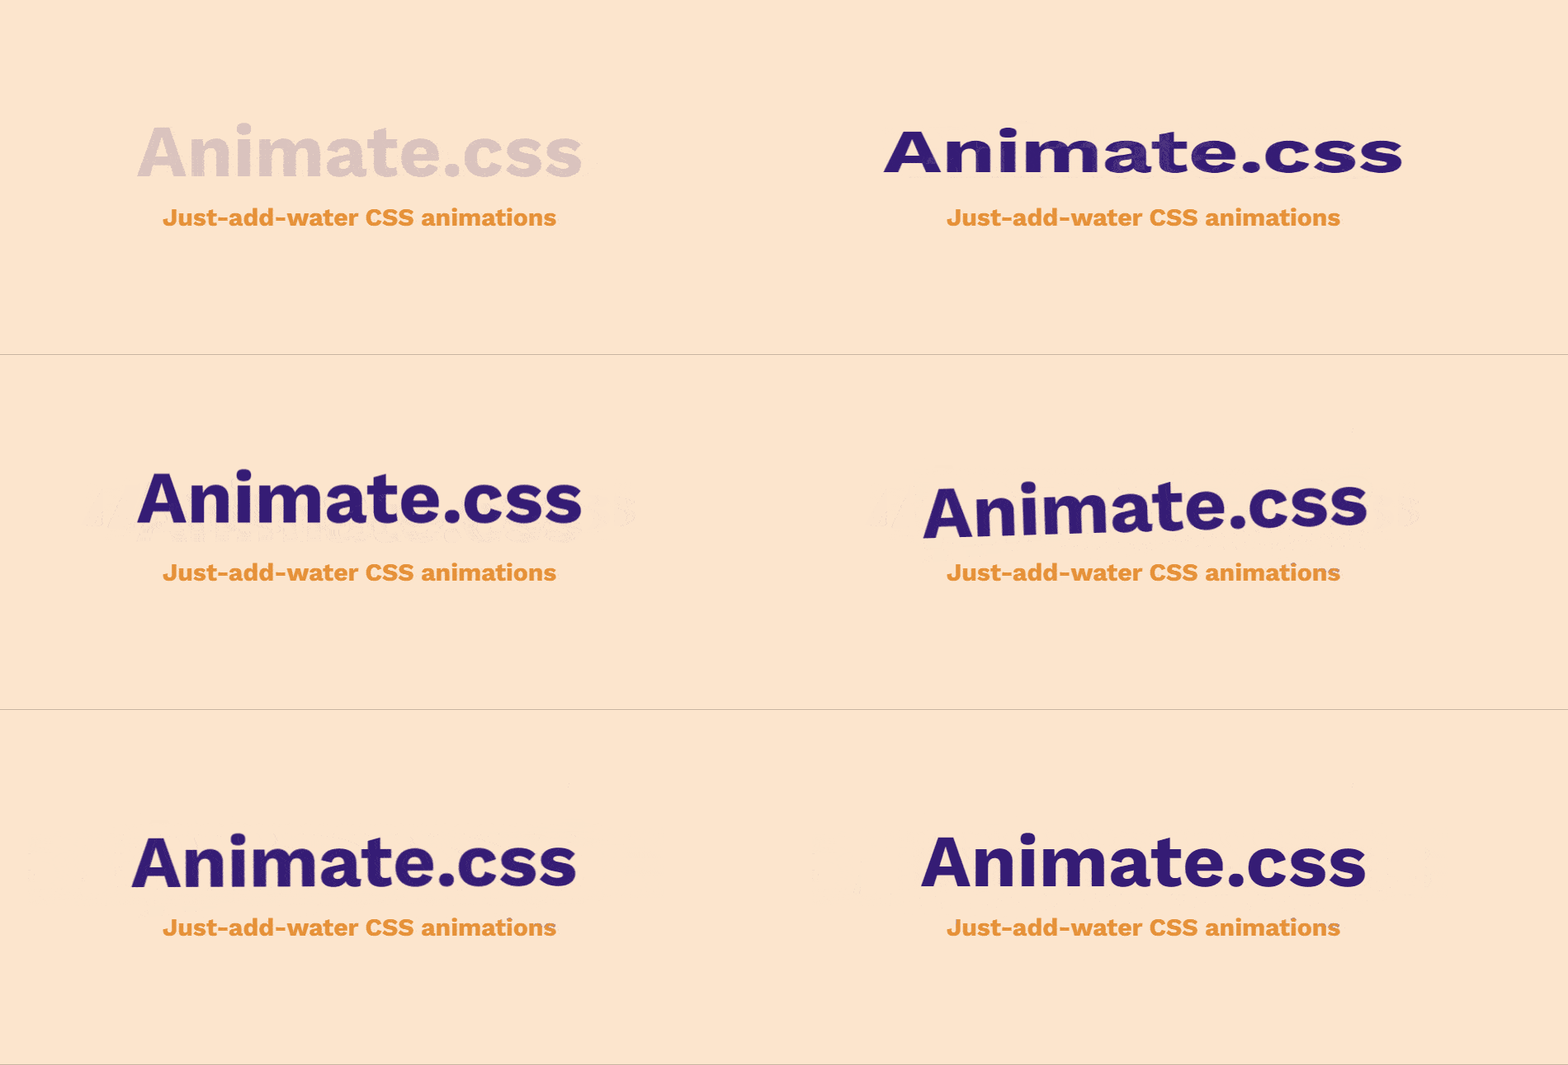
Эффекты настраиваются: меняется скорость, продолжительность или задержка анимации. Как это сделать — подскажет простая и подробная документация. В ней даже есть раздел «Лучшие практики» с советами по созданию анимации. Например, там говорится, что не стоит использовать бесконечные анимации или анимировать крупные блоки.
Animate.css также поддерживает медиавыражение . Оно нужно, чтобы пользователи с судорожными расстройствами могли отключить анимацию в своих браузерах.
cssanimation.io
Библиотека для CSS-анимаций, которая также поддерживает Greensock — стандартную среду для JavaScript-анимации.
В cssanimation.io более 70 эффектов. Например, вы сможете создать печатающийся текст, анимацию волны, размытия или изменения размеров букв. На главной странице есть блоки с HTML и CSS — выбираете понравившийся эффект и сразу видите разметку и стили элемента.

Также есть простая и подробная инструкция с примерами из CodePen — вы можете поиграться с каждой анимацией, меняя CSS-свойства в песочнице кода.
Хочется анимировать сайты и приложения?
Мы запустили курс «Мастер анимаций». Он научит вас создавать красивые эффекты на чистом CSS и JS, а также использовать популярные библиотеки.
Посмотреть курс
Animista
Библиотека, в которой можно поиграть с набором анимаций. Вы прямо в интерфейсе редактора выбираете подходящий эффект и настраиваете его параметры: замедление, задержку или продолжительность. А в конце генерируете CSS-код — если нужно, минифицировав и добавив автопрефиксы:

Есть короткая инструкция по использованию. В ней говорится, что некоторые анимации в Animista — экспериментальные и могут не работать в старых браузерах.
Magic CSS
Небольшая библиотека с набором CSS-анимаций, которые можно запускать при наступлении браузерного события. Такие эффекты используются, например, чтобы по клику на кнопку эффектно показать другой элемент.
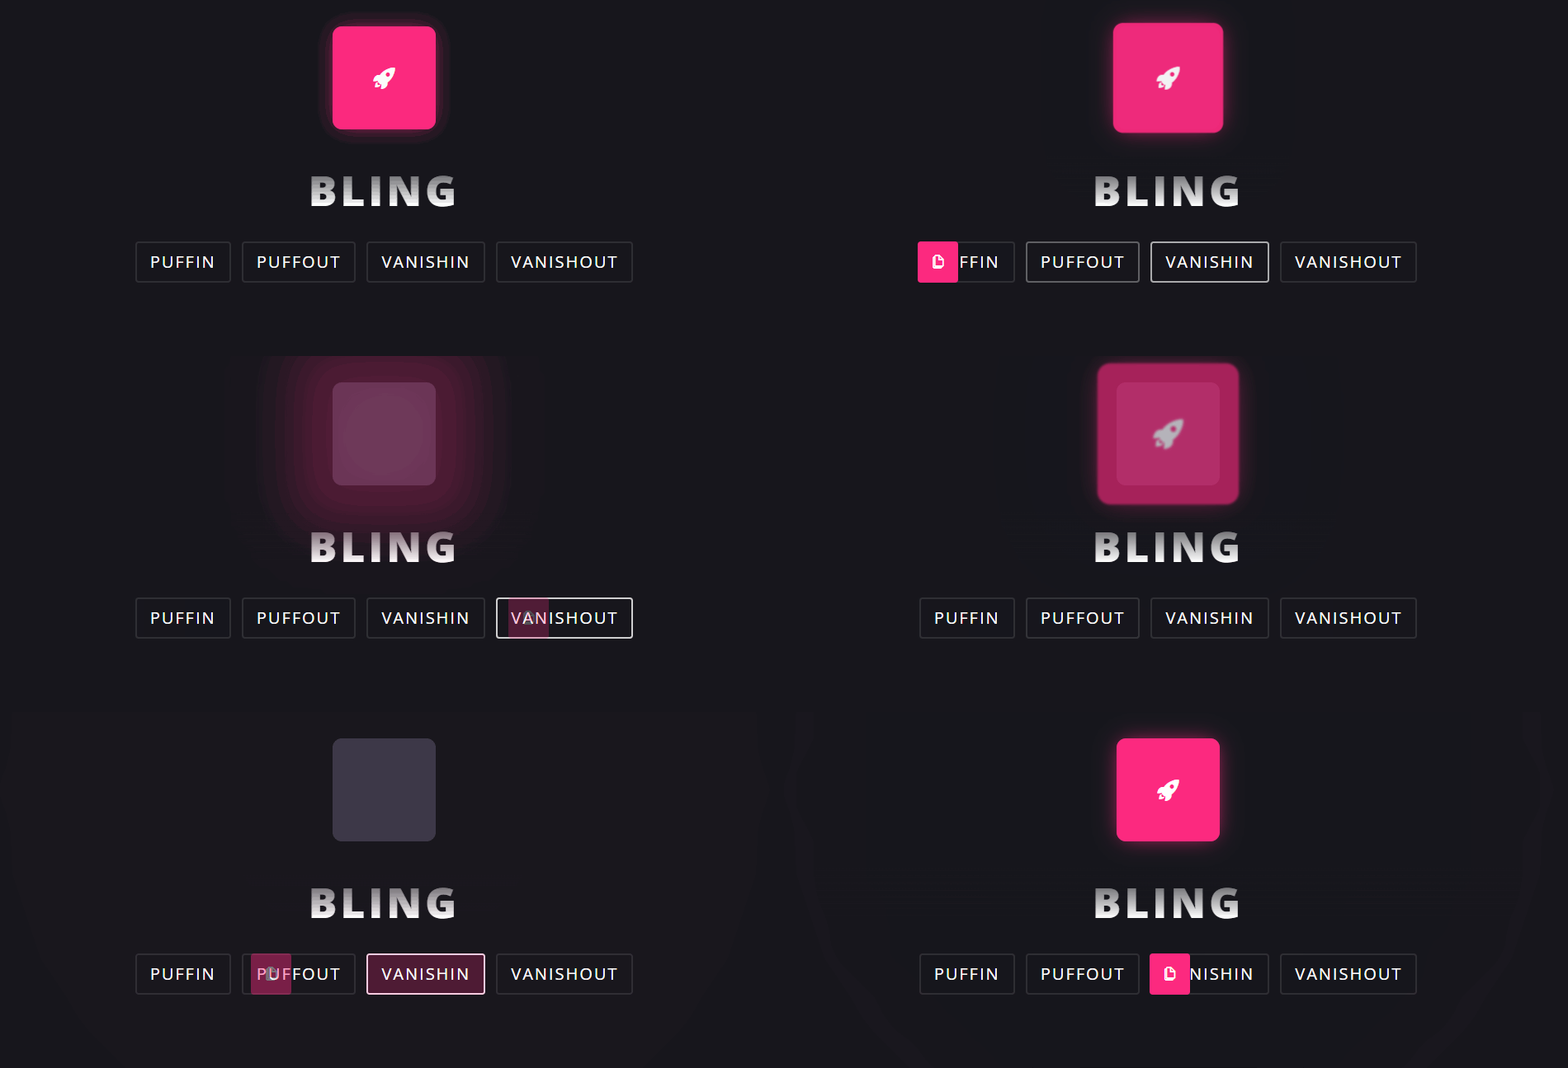
Документация небольшая, но её достаточно для работы с Magic CSS.
CSS Wand
В этой библиотеке собраны анимации для кнопок, индикаторов загрузки и полей ввода. Эффектов пока немного, но автор принимает запросы на новые анимации — если вам чего-то не хватает, напишите ему.
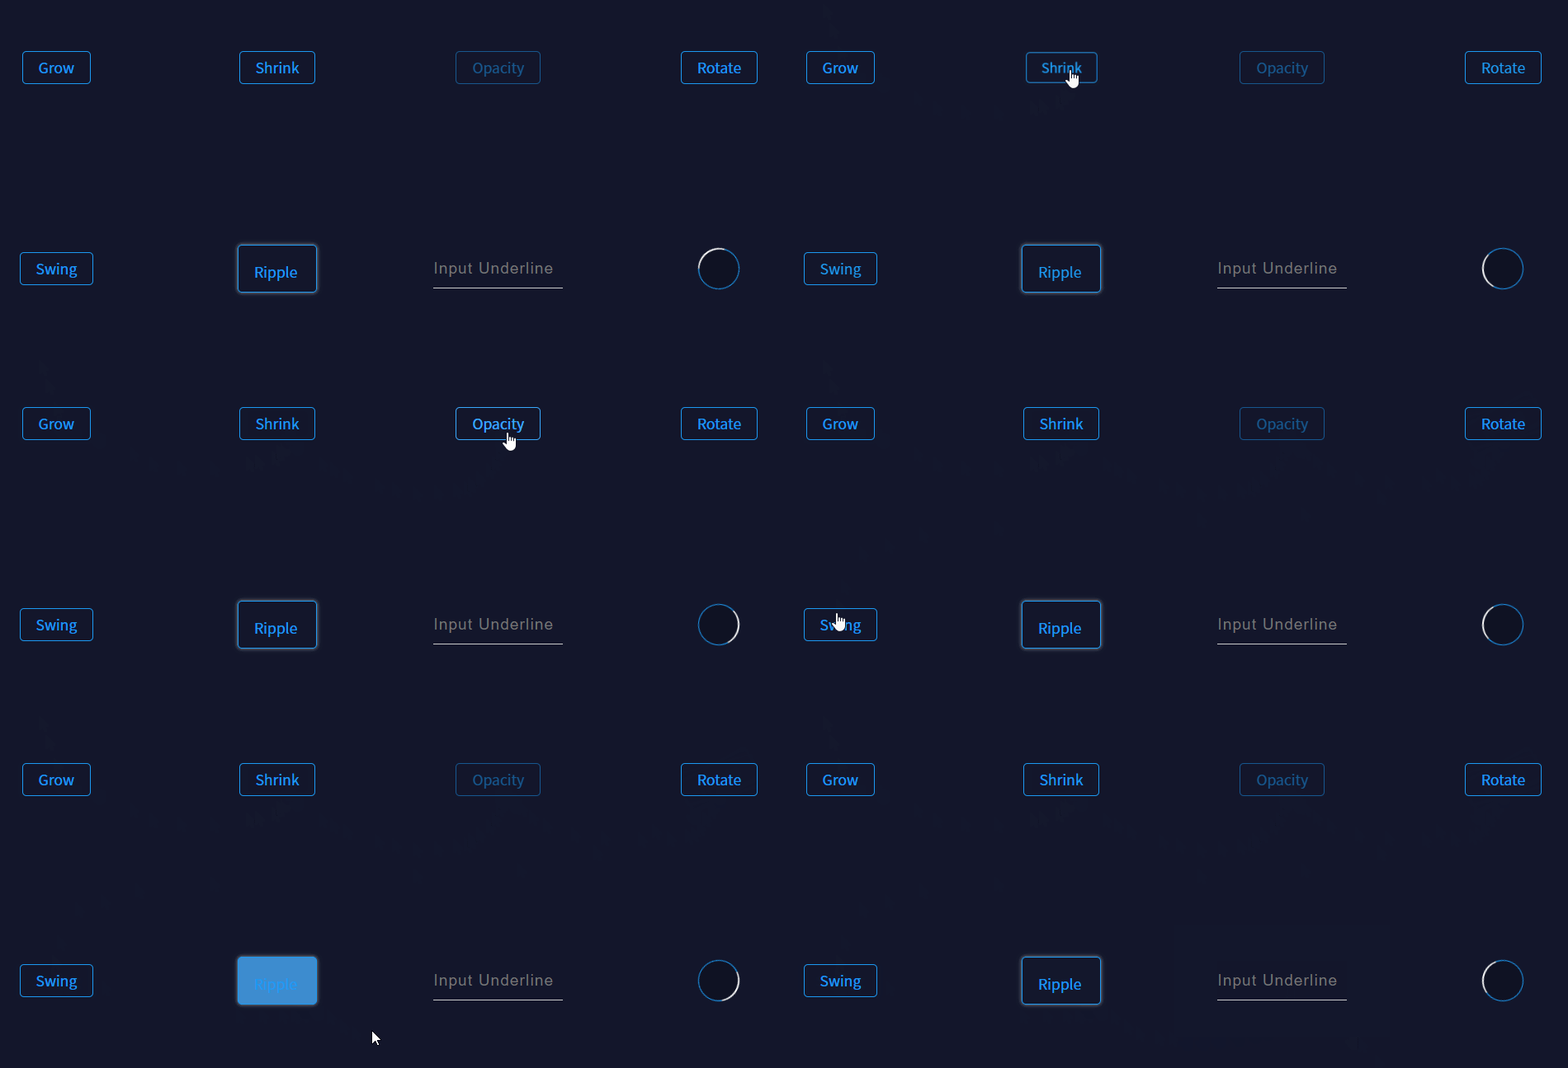
Библиотека очень простая, поэтому у неё нет объёмной документации — только пара строк о том, как клонировать CSS Wand локально. Также можно посмотреть и скопировать код понравившегося эффекта прямо на сайте — для этого нужно просто нажать на элемент.
Использование animate.css
Первый шаг для использования этой библиотеки после загрузки — добавить файл CSS в HTML-код:
<link rel="stylesheet" href="css/animate.min.css">
После того, как библиотека загружена на вашу веб-страницу, у вас появится доступ ко всей анимации, написанной в ней, и для вызова её для элемента все, что вам нужно сделать, это задать ему класс animated и имя нужной вам анимации.
вы можете просмотреть примеры и названия всех анимаций содержащихся в библиотеке. Например:
<h1 class="animated flash">Hello</h1>
Если вы перезагрузите страницу, вы сразу увидите, что текст в H1 будет моргать.
Нужен сервер? Смотрите тарифы на сайте
Это замечательно, но обычно требуется анимировать нажатие кнопок или когда пользователь выполняет какие-то действия. Для этого вам нужно воспользоваться небольшим кодом JavaScript, чтобы вызвать событие click и добавить классы к вашему элементу. Представьте себе этот HTML:
<button>Click</button>
<section>
Proin sapien ipsum, porta a, auctor quis, euismod ut, mi. Curabitur a felis in nunc fringilla tristique. Sed augue ipsum, egestas nec, vestibulum et, malesuada adipiscing, dui.
</section>
Например вы хотите сделать эффект появления текста при нажатии кнопки.
Сначала вы задаете блоку с текстом непрозрачность 0. Затем динамически добавляете классы с помощью JS:
$('button').click(function() {
    $('section').addClass('animated fadeInLeft');
});
Изменить скорость анимации в CSS, можно например, так:
.animated {
  -webkit-animation-duration: 200ms;
  -moz-animation-duration: 200ms;
  animation-duration: 200ms;
}
Вы также можете изменить задержку анимации и количество ее воспроизведений, используя animation-delay и animation-iteration-count.
Еще одна замечательная вещь, которую мы можем сделать, это вызвать функцию, когда анимация заканчивается, и выполнить другую анимацию для перехода, или просто запустить функцию. Чтобы сделать это, вы должны создать событие окончания анимации и добавить в нем класс анимации, который вы хотите применить к элементу. В моем случае я также добавлю класс delay, который позволит мне сделать задержку между постепенным появлением и постепенным затуханием:
$('section').one('webkitAnimationEnd mozAnimationEnd MSAnimationEnd oanimationend animationend', function() {
	$('section').addClass('delay fadeOutRight');
});
Что касается CSS, все, что вам нужно сделать, это добавить класс delay:
.delay {
	-animation-delay: 2s;
	-webkit-animation-delay: 2s;
	-moz-animation-delay: 2s;
}
Когда вы запустите этот CSS и JavaScript код, вы увидите, что он создает идеальное постепенное исчезновение. Он остается на странице в течение двух секунд, а затем исчезает, и все задержки анимации были созданы с использованием только CSS.
Дополнительные настройки
Для задания времени анимации вам необходимо перед закрытием тега </body> добавить следующий код:
PHP
<script>
jQuery(document).ready(function($) {
$(‘.wow’).attr(‘data-wow-duration’, ‘2.5s’ );
});
</script>
|
1 |
<script> jQuery(document).ready(function($){ $(‘.wow’).attr(‘data-wow-duration’,’2.5s’); }); </script> |
Где вместо ‘2.5s’ мы можем указать своё значение в секундах и таким образом сделать анимацию более быстрой или более плавной.
Для задания задержки анимации используем атрибут data-wow-delay
PHP
<script>
jQuery(document).ready(function($) {
$(‘.wow’).attr(‘data-wow-delay’, ‘1.5s’ );
});
</script>
|
1 |
<script> jQuery(document).ready(function($){ $(‘.wow’).attr(‘data-wow-delay’,’1.5s’); }); </script> |
Вместо ‘1.5s’ указываем своё значение в секундах.
Задать количество повторов анимации можно при помощи атрибута data-wow-iteration
PHP
<script>
jQuery(document).ready(function($) {
$(‘.wow’).attr(‘data-wow-iteration’, ‘infinite’ );
});
</script>
|
1 |
<script> jQuery(document).ready(function($){ $(‘.wow’).attr(‘data-wow-iteration’,’infinite’); }); </script> |
Значение «infinite» позволяет повторять анимацию бесконечно, так же вместо него вы можете указать определённое количество повторов.
Атрибут data-wow-offset позволяет включать анимацию, когда элемент проходит определённое количество пикселей или процентов от низа экрана.
Добавляется он аналогичным образом при помощи скрипта:
PHP
<script>
jQuery(document).ready(function($) {
$(‘.wow’).attr(‘data-wow-offset’, ’40’);});
</script>
|
1 |
<script> jQuery(document).ready(function($){ $(‘.wow’).attr(‘data-wow-offset’,’40’);}); </script> |
Так же вы можете задавать все эти атрибуты непосредственно в коде элемента:
PHP
<div class=»wow slideInLeft» data-wow-duration=»2.5s» data-wow-delay=»1.5s» data-wow-offset=»40″ data-wow-iteration=»2″>
Для этого блока применится CSS-анимация появления
</div>
|
1 |
<div class=»wow slideInLeft»data-wow-duration=»2.5s»data-wow-delay=»1.5s»data-wow-offset=»40″data-wow-iteration=»2″> ДляэтогоблокаприменитсяCSS-анимацияпоявления <div> |
Как видите ни в подключении, ни в настройке данной библиотеки и скрипта нет ничего сложного! Поэтому смело используйте данный способ настройки CSS-анимации на своём сайте. Это позволит вам добавить красивую анимацию появления для любого элемента на сайте и при этом вам не нужно будет устанавливать для этого отдельный плагин или модуль.
CSS Animation Properties
The following table lists the @keyframes rule and all the CSS animation properties:
| Property | Description |
|---|---|
| @keyframes | Specifies the animation code |
| animation | A shorthand property for setting all the animation properties |
| animation-delay | Specifies a delay for the start of an animation |
| animation-direction | Specifies whether an animation should be played forwards, backwards or in alternate cycles |
| animation-duration | Specifies how long time an animation should take to complete one cycle |
| animation-fill-mode | Specifies a style for the element when the animation is not playing (before it starts, after it ends, or both) |
| animation-iteration-count | Specifies the number of times an animation should be played |
| animation-name | Specifies the name of the @keyframes animation |
| animation-play-state | Specifies whether the animation is running or paused |
| animation-timing-function | Specifies the speed curve of the animation |
❮ Previous
Next ❯
Советы по использованию animate css на сайте
1. Не переусердствуйте с анимациями
Хотя animate css представляет собой мощный инструмент для создания динамических анимаций, не стоит перегружать свой сайт анимациями. Слишком много анимаций может вызвать глюки и замедлить работу сайта.
2. Не забывайте о структуре сайта
При использовании animate css важно помнить о структуре сайта и не создавать анимации, которые могут мешать восприятию контента. Например, не стоит создавать анимацию, которая закрывает важную информацию или отвлекает пользователя от центральной идеи страницы
3. Используйте анимации с умом
Создавайте анимации, которые улучшают визуальный опыт пользователя и помогают передать сообщение вашего сайта. Например, вы можете использовать animate css, чтобы добавить процесс загрузки, либо чтобы придать ощущение движения при скролле.
4. Тестируйте свои анимации
Прежде чем опубликовать веб-сайт с анимациями, убедитесь, что все анимации работают должным образом на различных устройствах и браузерах.
5. Обязательно оптимизируйте анимации
animate css использует CSS3 анимации, но при этом могут возникнуть проблемы с производительностью
Важно оптимизировать свои анимации, чтобы они работали плавно и не замедляли ваш сайт
Кроме того, обратите внимание на размеры анимаций, чтобы они не увеличивали размер страницы и не замедляли ее загрузку
Easing
Easing is possibly the most important part of motion design. A well-chosen ease will add personality and breathe life into your animation.
Take a look at the difference between no ease and a bounce ease in the demo below! The green box with no ease spins around at a consistent speed, whereas the purple box with the ‘bounce’ ease revs up, races along and then bounces to a stop.
gsap.to(".green",{ rotation360, duration2, ease"none"});

gsap.to(".purple",{ rotation360, duration2, ease"bounce.out"});
Under the hood, the «ease» is a mathematical calculation that controls the rate of change during a tween. But don’t worry, we do all the math for you! You just sit back and select the ease that best fits your animation.
For most eases you’ll be able to specify a type. There are three types of ease: , and . These control the momentum over the course of the ease.
ease"power1.in"// start slow and end faster, like a heavy object falling

ease"power1.out"// start fast and end slower, like a rolling ball slowly coming to a stop

ease"power1.inOut"// start slow and end slow, like a car accelerating and decelerating
Ease out animations like are the best for UI transitions; they’re fast to start which helps the UI feel responsive, and then they ease out towards the end giving a natural feeling of friction.
Стиль для элемента, когда анимация не воспроизводится
CSS свойство animation-fill-mode задает стиль для элемента, когда анимация не воспроизводится (когда она будет закончена, или, когда она имеет задержку, установленную свойством animation-delay).
Ниже представлены возможные значения для настройки этого свойства:
| Значение | Описание | |||
|---|---|---|---|---|
| none | К элементу не применяются какие-либо стили до (во время задержки анимации), или после воспроизведения анимации. Значение по умолчанию. | |||
| forwards | По окончанию анимации к элементу применяется стиль последнего ключевого кадра. Каким будет этот кадр зависит от сочетания значений свойств animation-direction и animation-iteration-count: | animation-direction (значение по умолчанию normal) | animation-iteration-count(значение по умолчанию 1) | Значение последнего ключевого кадра |
| normal | четное или нечетное число | 100% или to | ||
| reverse | четное или нечетное число | 0% или from | ||
| alternate | четное число | 0% или from | ||
| alternate | нечетное число | 100% или to | ||
| alternate-reverse | четное число | 100% или to | ||
| alternate-reverse | нечетное число | 0% или from |
backwards
К элементу применяется стиль первого ключевого кадра, действие сохраняется на протяжении периода заданного свойством animation-delay. Первый ключевой кадр определяется на основании значения animation-direction:
animation-direction (значение по умолчанию normal)
Значение первого ключевого кадра
normal
0% или from
alternate
0% или from
reverse
100% или to
alternate-reverse
100% или to
both
К элементу применяются оба значения: forwards и backwards (как только анимация будет завершена и перед тем как она будет запущена — во время задержки).
Перейдем к рассмотрению примера:
<!DOCTYPE html>
<html>
<head>
	<meta charset = "UTF-8">
	<title>Использование свойства animation-fill-mode</title>
<style>
div {
width: 100px; /* ширина элемента */
height: 100px; /* высота элемента */
color: white; /* цвет шрифта */
background: green; /* цвет заднего фона */
display: inline-block; /* устанавливаем элементы <div> как блочно-строчные (выстраиваем в линейку) */
position: relative; /* элемент с относительным позиционированием  */
animation-name: iliketomoveit; /* имя анимации */
animation-duration: 5s; /* продолжительность анимации */
animation-animation-delay: 2s; /* анимация воспроизводится c задержкой 2 секунды  */
}
.test {
animation-fill-mode: none; /* не применяются какие-либо стили до (во время задержки), или после воспроизведения анимации */
}
.test2 {
animation-fill-mode: forwards; /* по окончанию анимации  применяется стиль последнего ключевого кадра (красный фон) */
}
.test3 {
animation-fill-mode: backwards; /*  применяется стиль первого ключевого кадра, действие сохраняется на протяжении периода задержки. */
}
.test4 {
animation-fill-mode: both; /*  применяются оба значения: forwards и backwards (как только анимация будет завершена и перед тем как она будет запущена - во время задержки). */
}
@keyframes iliketomoveit {
	0%   {background: yellow;} /* задаем цвет заднего фона при начале анимации */
	100% {background: red;} /* задаем цвет заднего фона по завершению анимации */
}
</style>
</head>
	<body>
		<div class = "test">none</div>
		<div class = "test2">forwards</div>
		<div class = "test3">backwards</div>
		<div class = "test4">both</div>
	</body>
</html>
В этом примере мы создали анимацию продолжительностью 5 секунд (animation-duration), в которой происходит изменение цвета заднего фона элемента. При этом анимация имеет задержку равную 2 секундам (animation-delay).
С использованием селектора класса и свойства animation-fill-mode мы указали различные значения, которые определяют стиль для элемента, когда анимация не воспроизводится (когда она будет закончена, или, когда она имеет задержку):
- Первый элемент — к элементу не применяются какие-либо стили до (во время задержки), или после воспроизведения анимации. Это значение по умолчанию.
- Второй элемент — по окончанию анимации к элементу применяется стиль последнего ключевого кадра (красный фон).
- Третий элемент — к элементу применяется стиль первого ключевого кадра, действие сохраняется на протяжении периода задержки. Элемент на протяжении периода задержки отображается желтым цветом (первый ключевой кадр).
- Четвертый элемент — к элементу применяются оба значения: forwards и backwards (как только анимация будет завершена и перед тем как она будет запущена — во время задержки). Элемент на протяжении периода задержки отображается желтым цветом (первый ключевой кадр), а по окончанию получит красный фон
Результат нашего примера:
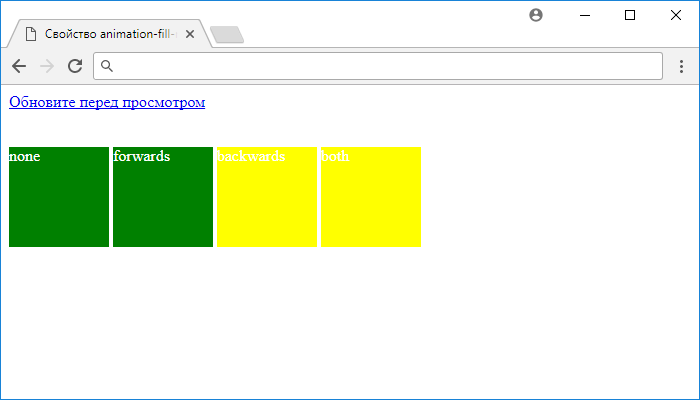
Рис. 199 Пример использования свойства animation-fill-mode.
Specify the Speed Curve of the Animation
The property specifies the speed curve of the
animation.
The animation-timing-function property can have the following values:
- — Specifies an animation with a slow start, then fast, then end slowly (this is default)
- — Specifies an animation with the same speed from start to end
- — Specifies an animation with a slow start
- — Specifies an animation with a slow end
- — Specifies an animation with a slow start and end
- — Lets you define your own values in a cubic-bezier function
The following example shows some of the different speed curves that can be used:
Example
#div1 {animation-timing-function: linear;}#div2
{animation-timing-function: ease;}#div3 {animation-timing-function:
ease-in;}#div4 {animation-timing-function: ease-out;}#div5
{animation-timing-function: ease-in-out;}
What else can I animate?
Pretty much anything — If you’re not sure, give it a try!
CSS properties
Transforms, colors, padding, border radius, GSAP can animate it all! Just remember to camelCase the properties — e.g. becomes .
Although GSAP can animate almost every CSS property, we recommend sticking to transforms and opacity when possible. Properties like filter and boxShadow are CPU-intensive for browsers to render. Animate with care and make sure to test on low-end devices.
SVG attributes
Just like HTML elements, SVG elements can be animated with transform shorthands. Additionally you can animate SVG attributes like , , , , , and even the SVG itself using an object.
Any numeric value, color, or complex string containing numbers
GSAP doesn’t need DOM elements in order to animate properties. You can target literally any property of any object, even arbitrary ones you create like this:
let obj ={ myNum10, myColor"red"};
gsap.to(obj,{
  myNum200,
  myColor"blue",
  onUpdate()=> console.log(obj.myNum, obj.myColor)});
In the demo below we have a box drawn with HTML canvas. We’re animating x and y values stored in a position object and then we update the canvas on each tick of the animation. GSAP is often used this way to animate in Three.js, HTML canvas and Pixi.js:
Timelines
Timelines are the key to creating easily adjustable, resilient sequences of animations. When you add tweens to a timeline, by default they’ll play one-after-another in the order they were added.
// create a timelinelet tl = gsap.timeline()// add the tweens to the timeline - Note we're using tl.to not gsap.to
tl.to(".green",{ x600, duration2});
tl.to(".purple",{ x600, duration1});
tl.to(".orange",{ x600, duration1});
Timelines are one of the most important GSAP concepts to wrap your head around. In the next article we cover how to position tweens on a timeline to precisely choreograph your motion and then control the entire sequence as a whole.
Your animation superpowers are about to get a serious boost…Read the next article >>
6. Angrytools
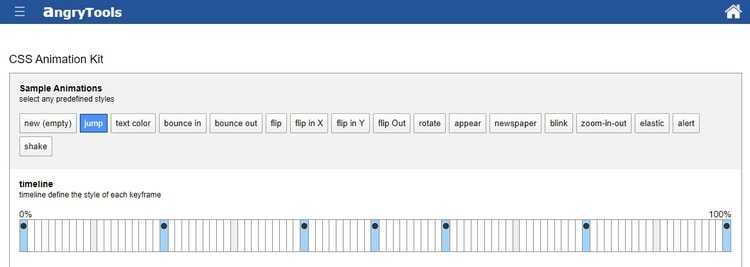
6. Angrytools
Этот сайт, так же как и многие предыдущие, предоставляет нам возможности для настройки продолжительности или задержки анимации. Но в нем есть возможность самому добавлять ключевые точки (keyframes) на так называемую временную шкалу, а затем писать код прямо там. Кроме того, вы можете редактировать уже существующие ключевые точки.
Когда вы закончите делать анимацию, вы сможете скопировать код или же скачать его.
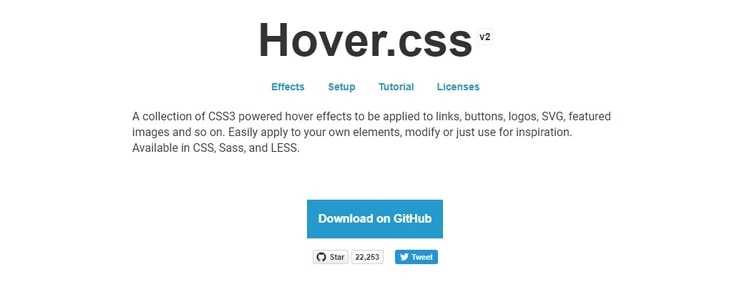
7. Hover.css
Hover.css включает в себя множество CSS-анимаций, которые, в отличие от приведенных выше, запускаются при каждом наведении на элемент.
Это коллекция CSS3-эффектов которые активируются при наведении, и которые можно применить к ссылкам, кнопкам, логотипам, SVG, выбранным изображениям и т.д.
У них есть действительно удивительные анимации. Более того, в hover.css также есть классы для анимации иконок, например, font awesome.
Использовать hover.css очень просто. Надо просто добавить нужный класс к вашему элементу. Например так:
<button class="hvr-fade">Hover me!</button>


![15 gorgeous css text animation effects [examples]](http://rwvt.ru/wp-content/uploads/4/3/c/43c1e3545e059fd0610823ae35afdef4.png)


